Portal Mods

Portal Mods provide comprehensive portal customization capabilities through five modification types:
Modification Types:
- View Override: Replace entire view templates (e.g., login.erb, session_info.erb)
- Partial Override: Replace specific partial templates (e.g., _welcome_message.erb, _footer.erb)
- Image Override: Replace portal images and assets
- Variable Customization: Modify theme colors, Bootstrap variables, and appearance settings
- Controller Action: Add custom Ruby code to execute new controller actions
Content Modes:
- HTML Mode: Direct HTML/ERB code editing with full template access
- Rich Text Mode: WYSIWYG editor with image upload and formatting tools
Appearance Settings:
- Light Mode / Dark Mode: Portal appearance themes
- Color Customization: Bootstrap theme colors, button colors, background gradients
- CSS Variable Override: Complete control over portal styling
Example Portal Mod
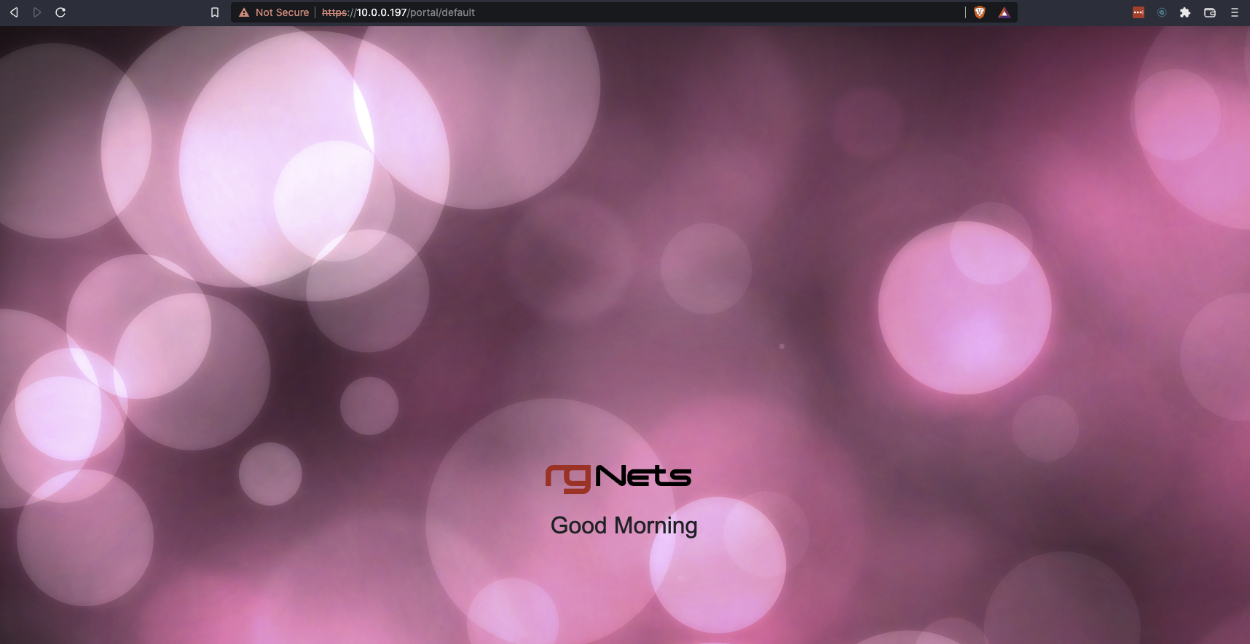
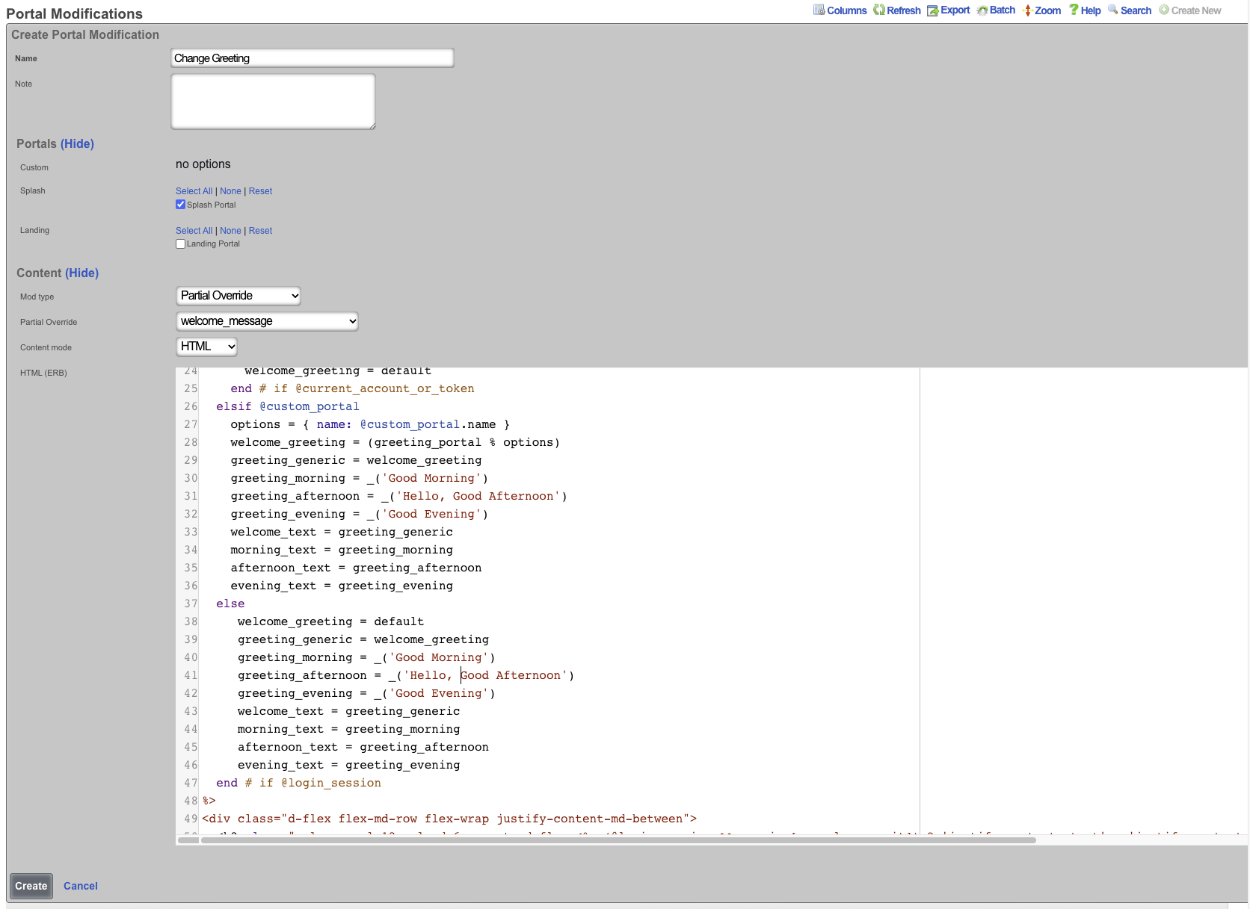
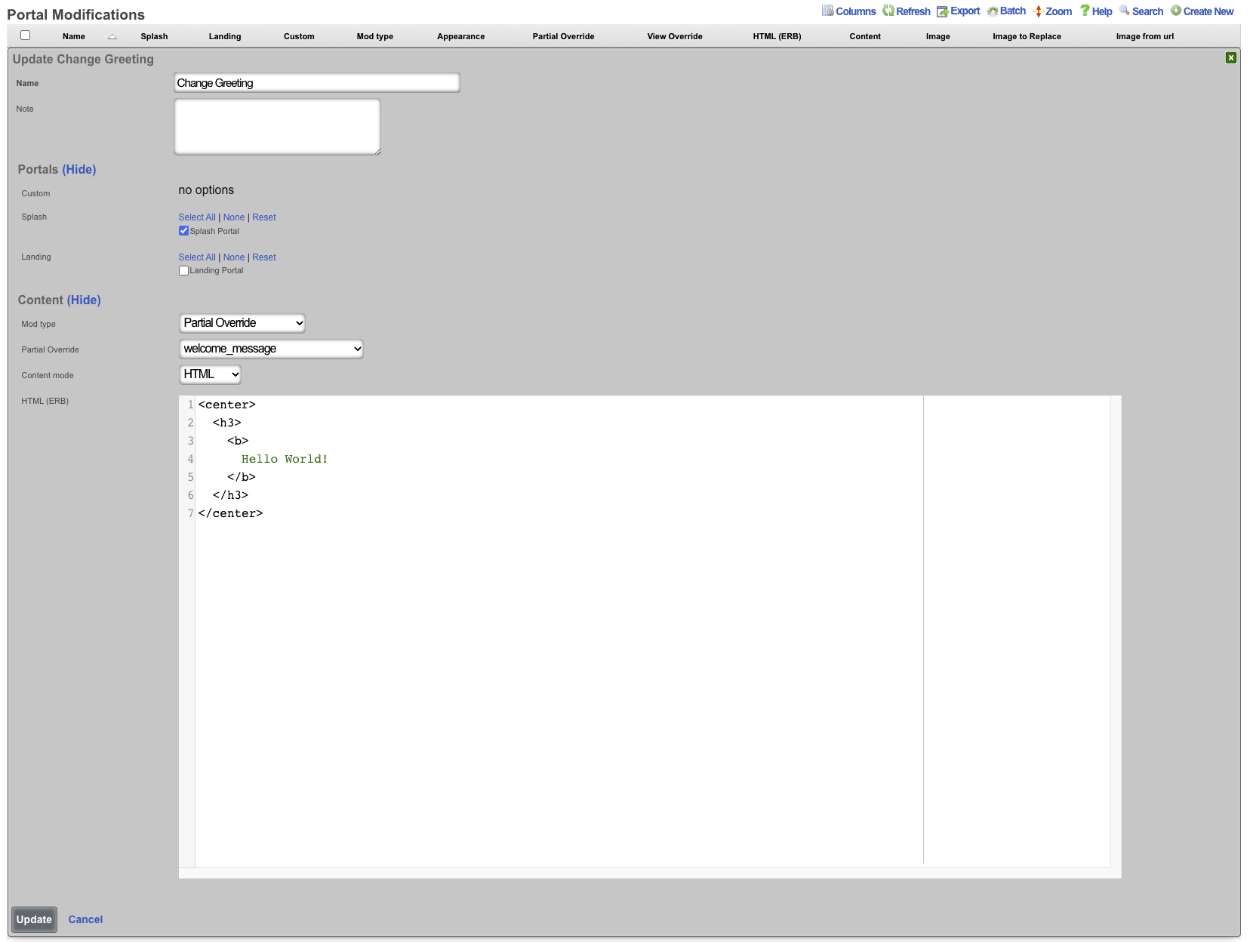
In this example Portal Mods will be used to change the greeting on the default portal, the login types and the logo on the splash and landing page. To change the default greeting (Good Morning, Good Afternoon, and Good Evening) create a new Portal Mod. The Name field is arbitrary. Select the Splash portal the change should be applied to. In the Partial Override select welcome_message from the drop down. In the HTML field the code for the welcome_message view is displayed, and can be edited.
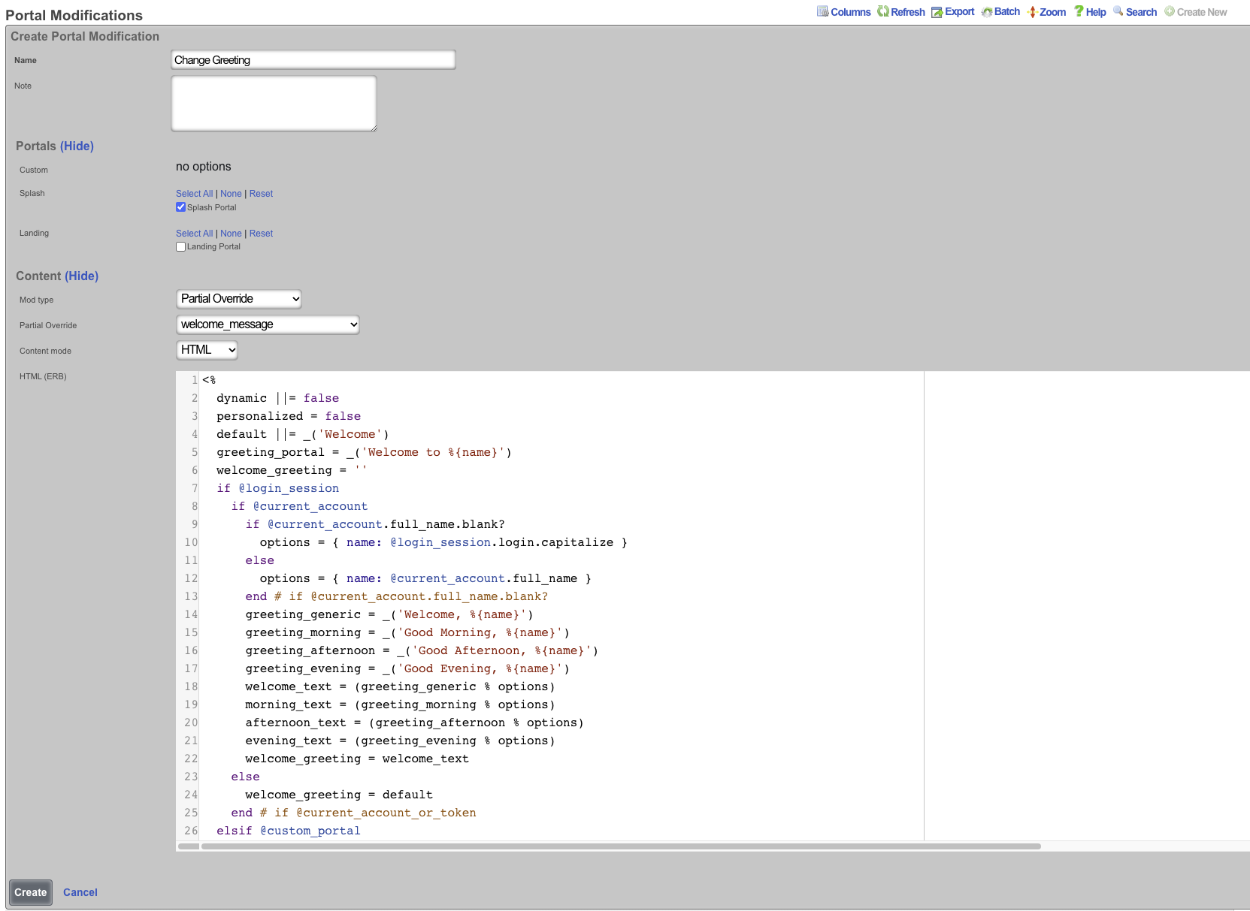
If the goal is to change the message that is displayed in the afternoon the following code can be changed on lines 31 and 41 "greeting_afternoon = _('Good Afternoon')". If "Good Afternoon" is changed to "Hello, Good Afternoon", then in the afternoon the message displayed will change from "Good Afternoon" to "Hello, Good Afternoon".
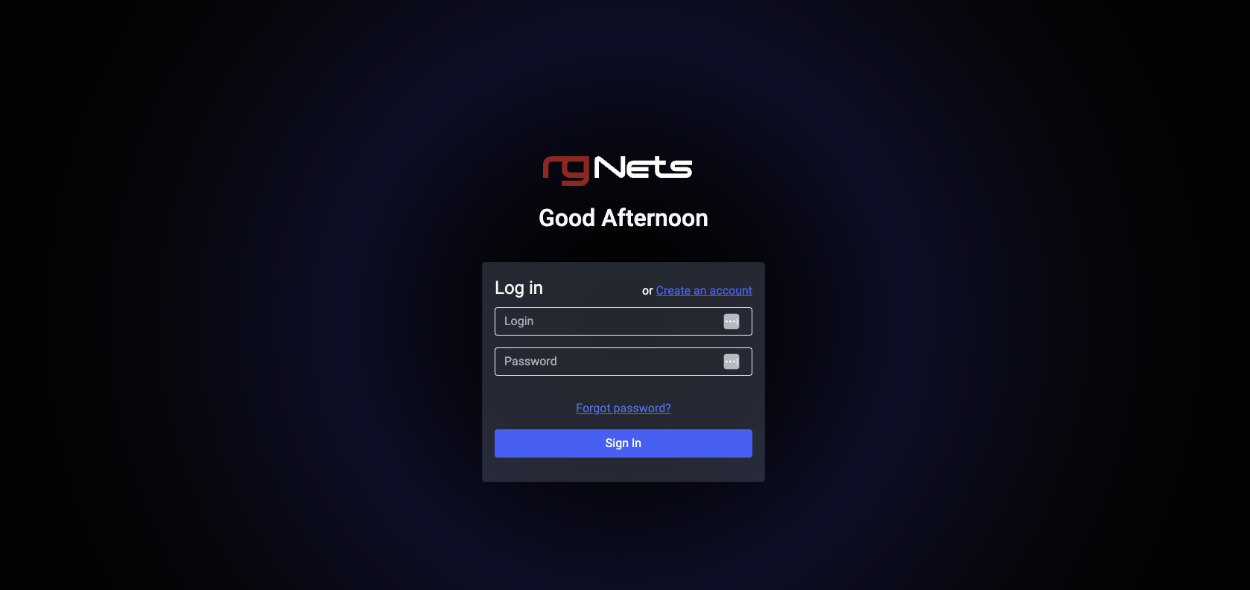
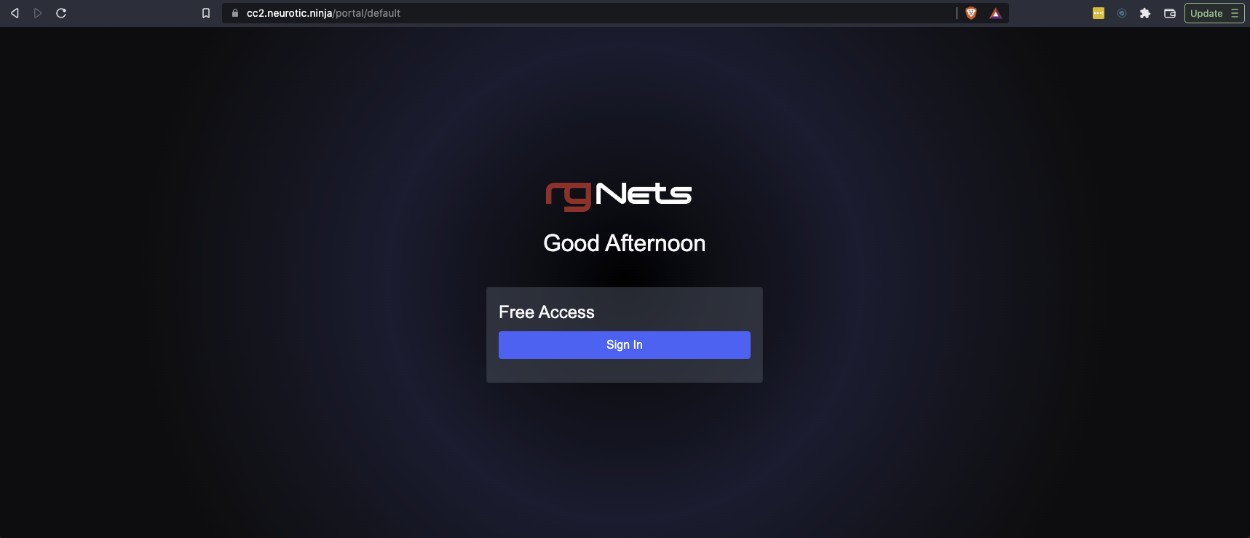
This will result in the following change, the first image is the unmodified portal and the 2nd is with the modification.
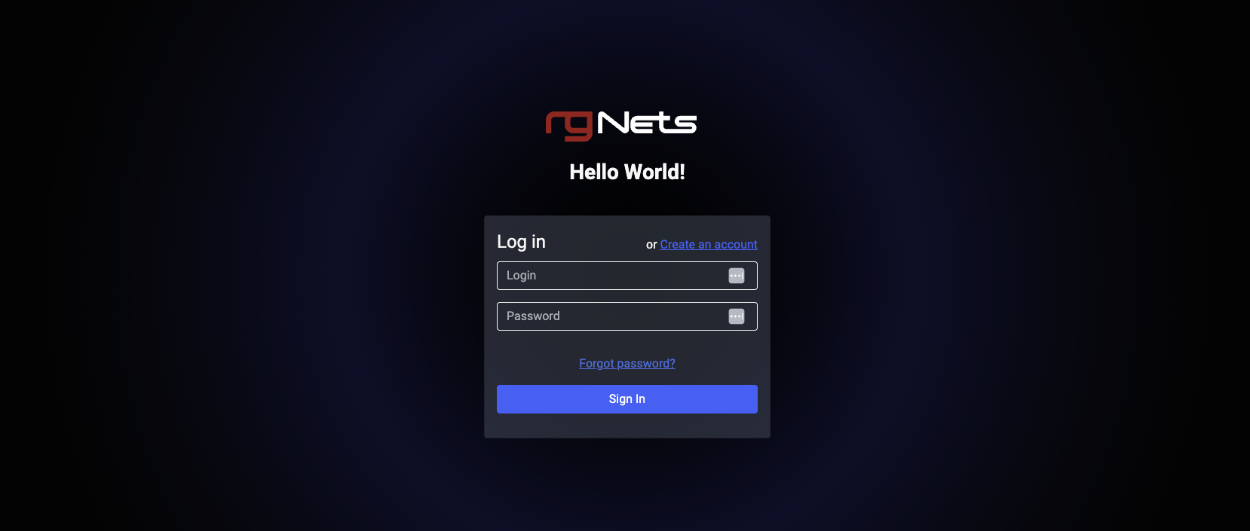
It is also possible to replace the code entirely. Here is an example where the code has been erased and replaced with custom code to display a static greeting message.
This results in the following to be displayed regardless of time of day.
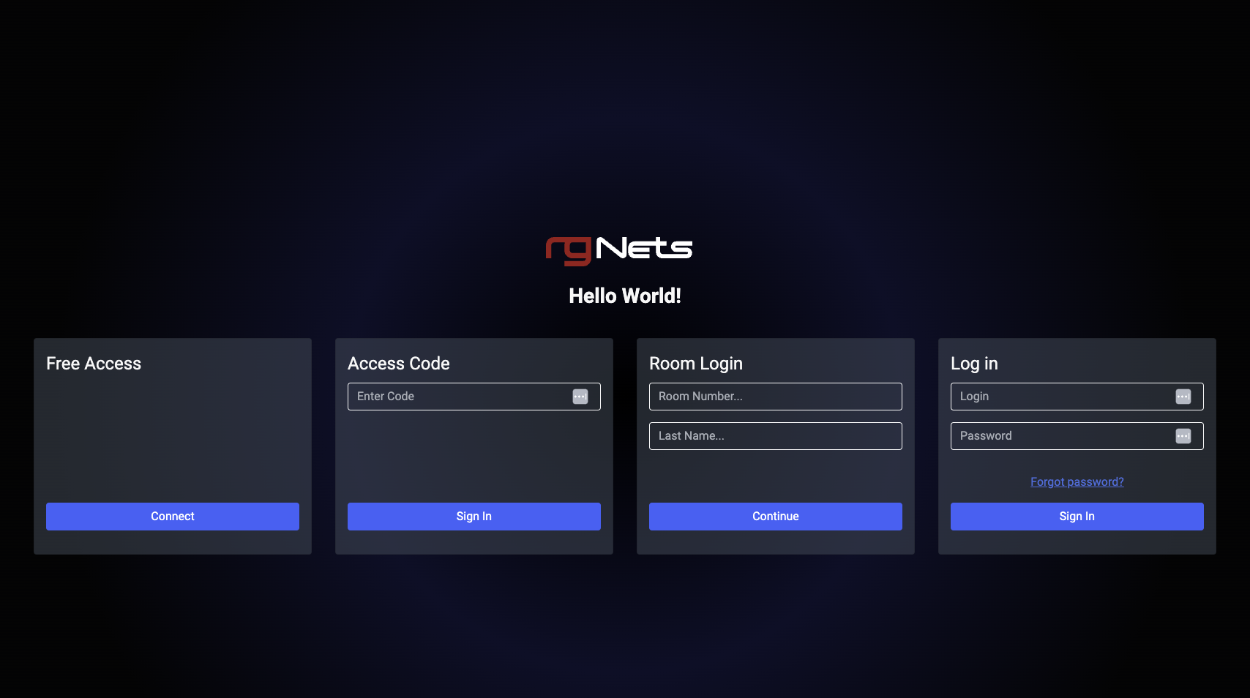
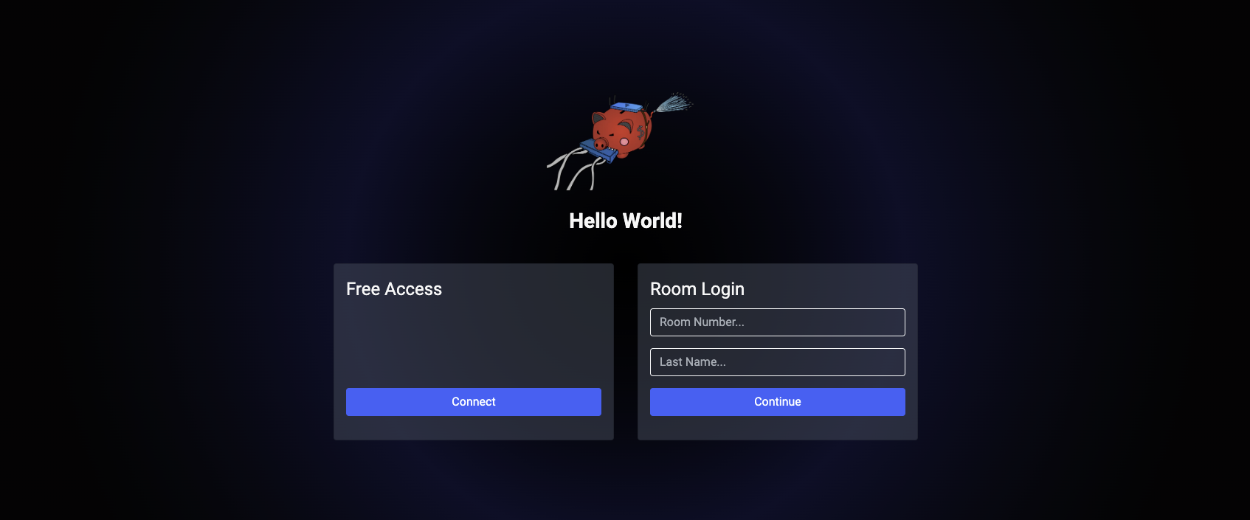
Using Portal Modifications the operator of the rXg can also change which login options are displayed overriding the default portal that displays login options based on the configuration. The operator may only want to display a click through option and PMS login for example. The below image shows the default portal with the login options displayed dynamically based on what is currently configured on the rXg.
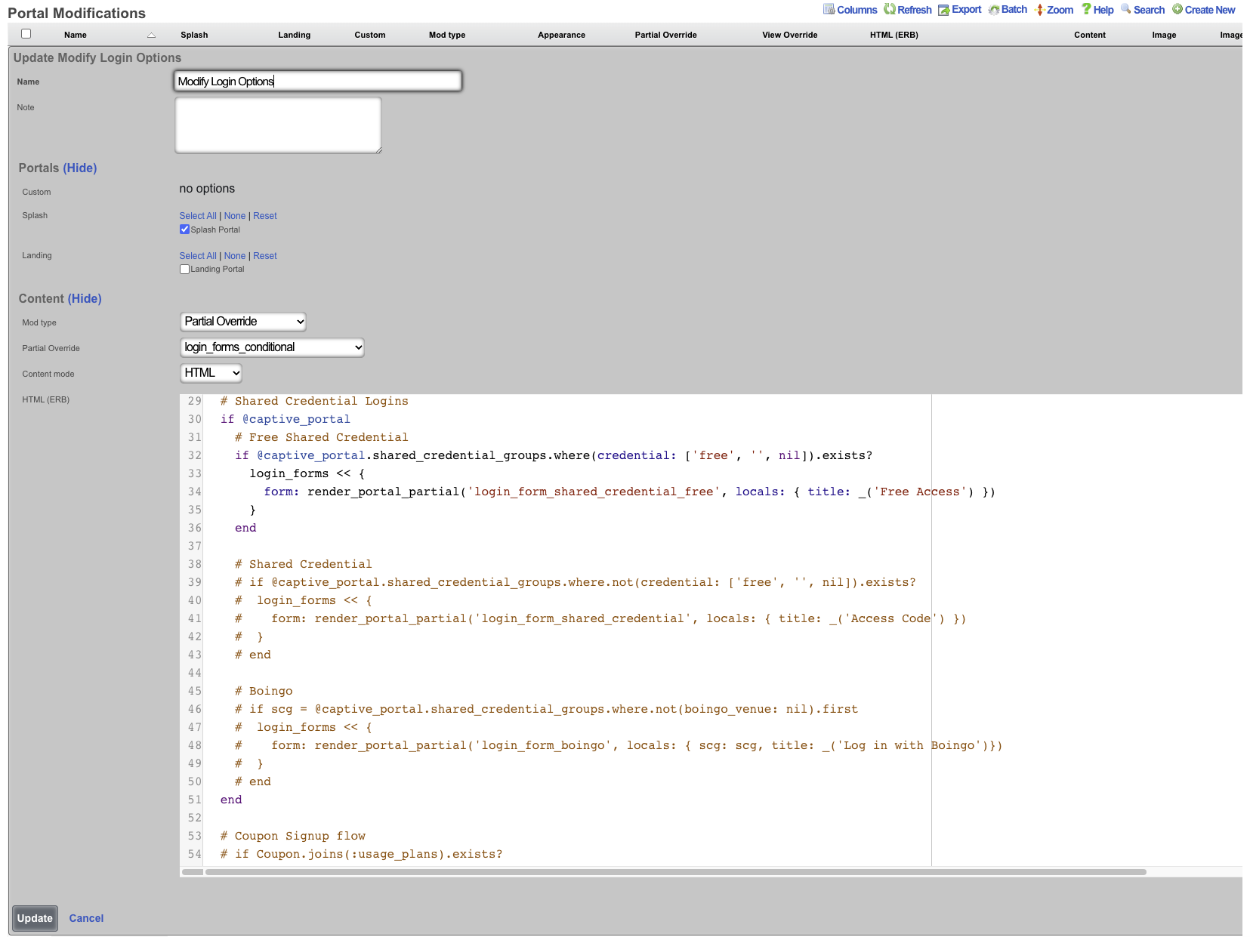
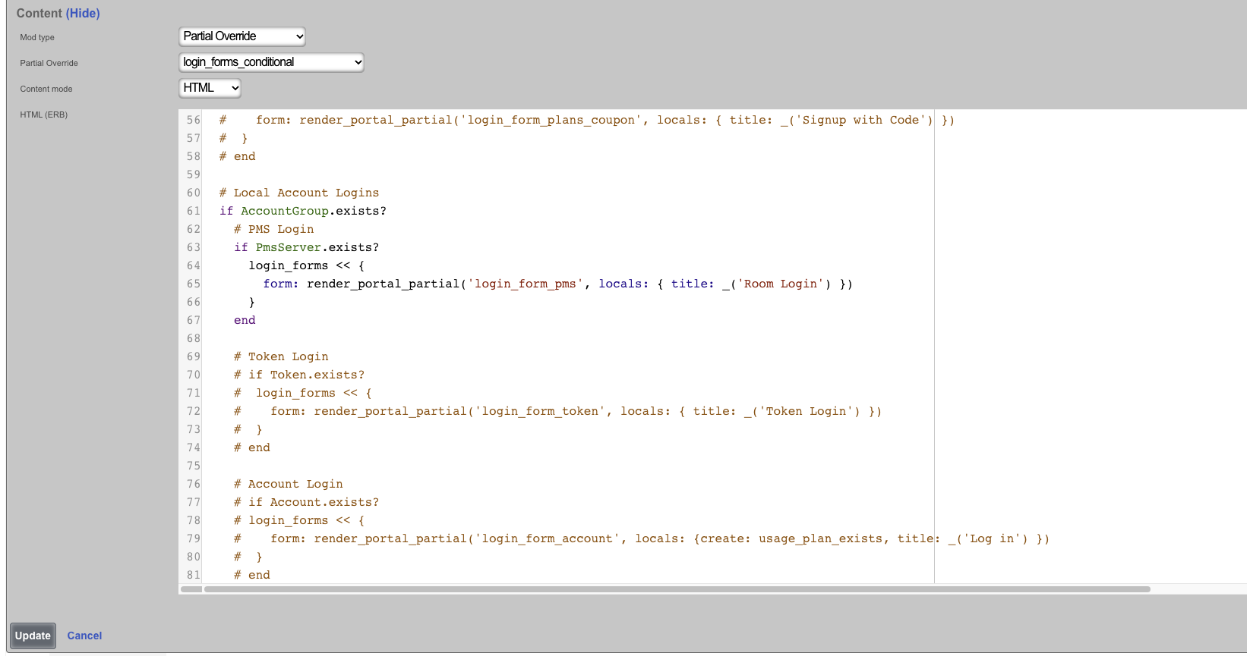
To only display the free options an the PMS room/name login, create a new Portal Modification. The Name field is arbitrary, enter a name for the record, check the Splash portal(s) this modification will apply to. The Mod type field should be set to Partial Override , and the Partial Override field should be set to login_forms_conditional. To display the free option and PMS room/name option on the portal remove or comment out the section of code for the login option that is to be removed.
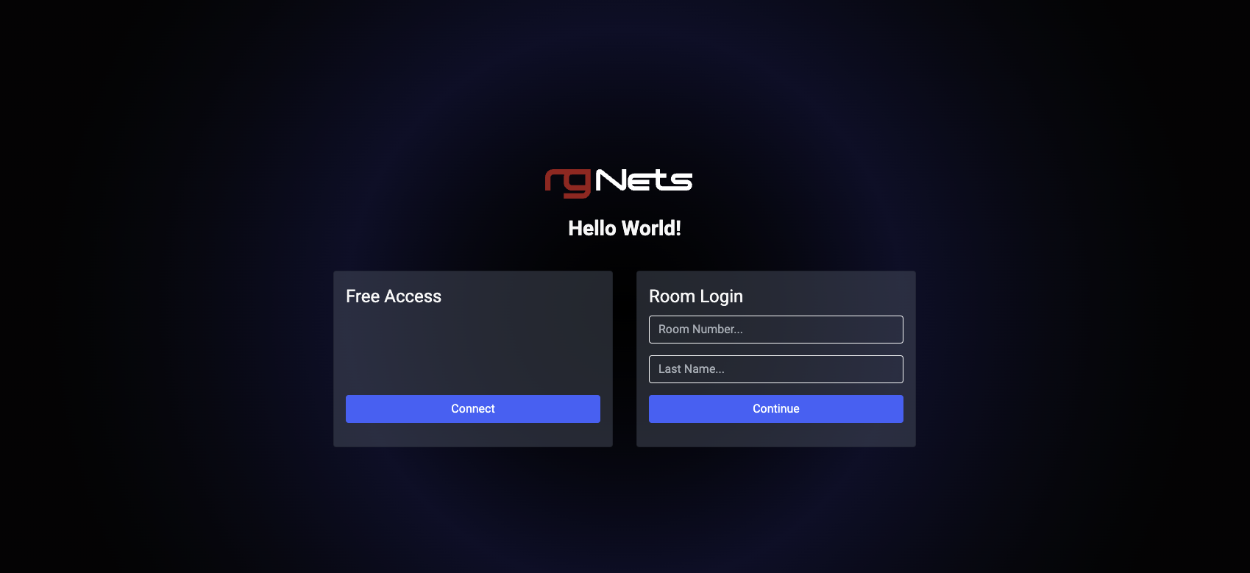
Now the portal will only display the login options we put in the Portal Modification.
In this last example we will change the logo displayed at the top of the portal page.
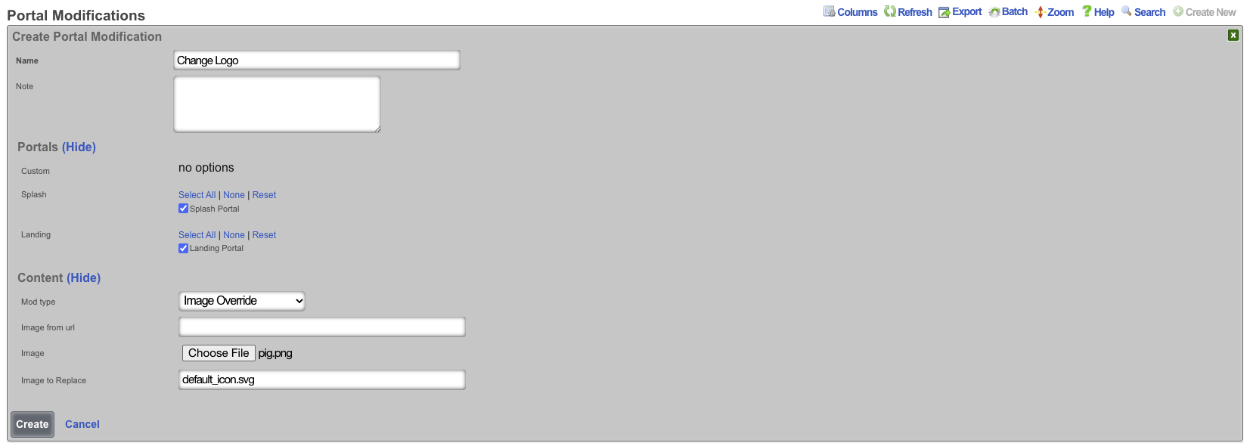
To change the logo, create a new Portal Modification , give it a name, select both the Splash and Landing portals the logo will be changed on. Change the Mod type field to Image Override , a URL can be entered load the image from a remote location, for this example we will use the Image field and click the Choose File button and select the file to be used. In the Image To Replace field enter "default_icon.svg". Click Create.
Now the logo displayed at the top is changed. Note: that if this is done on a cluster the configuration will be pushed to the portal on each node, there is no need to create a record for each node in the cluster.
Example: Using template to replace portal logo.
In this example, a template will be used to upload an image to replace the default logo. Below is the template that will be used, the variable data will be populated with the image after it is run through a Base64 Image Encoder, note for the sake of space the data variable has been truncated. For this example https://www.base64-image.de was used to convert the rgnets_logo.png to Base64.
<%
  mod_name = 'Replace Logo'
  image_to_replace = 'default_icon.svg'
  filename = 'rgnets_logo.png'
  data = "data:image/png;base64,iVBORw0KGgoAAAANSUhEUgAAAawAAABXCAYAAABY6nHCAAAEsmlUWHRYTUw6Y29tLmFkb2JlLnhtcAAAAAAAPD94cGF"
%>


PortalMod:
- name: <%= mod_name %>
  image_to_replace: <%= image_to_replace %>
  image:
    data: <%= data %>
    filename:  <%= filename %>
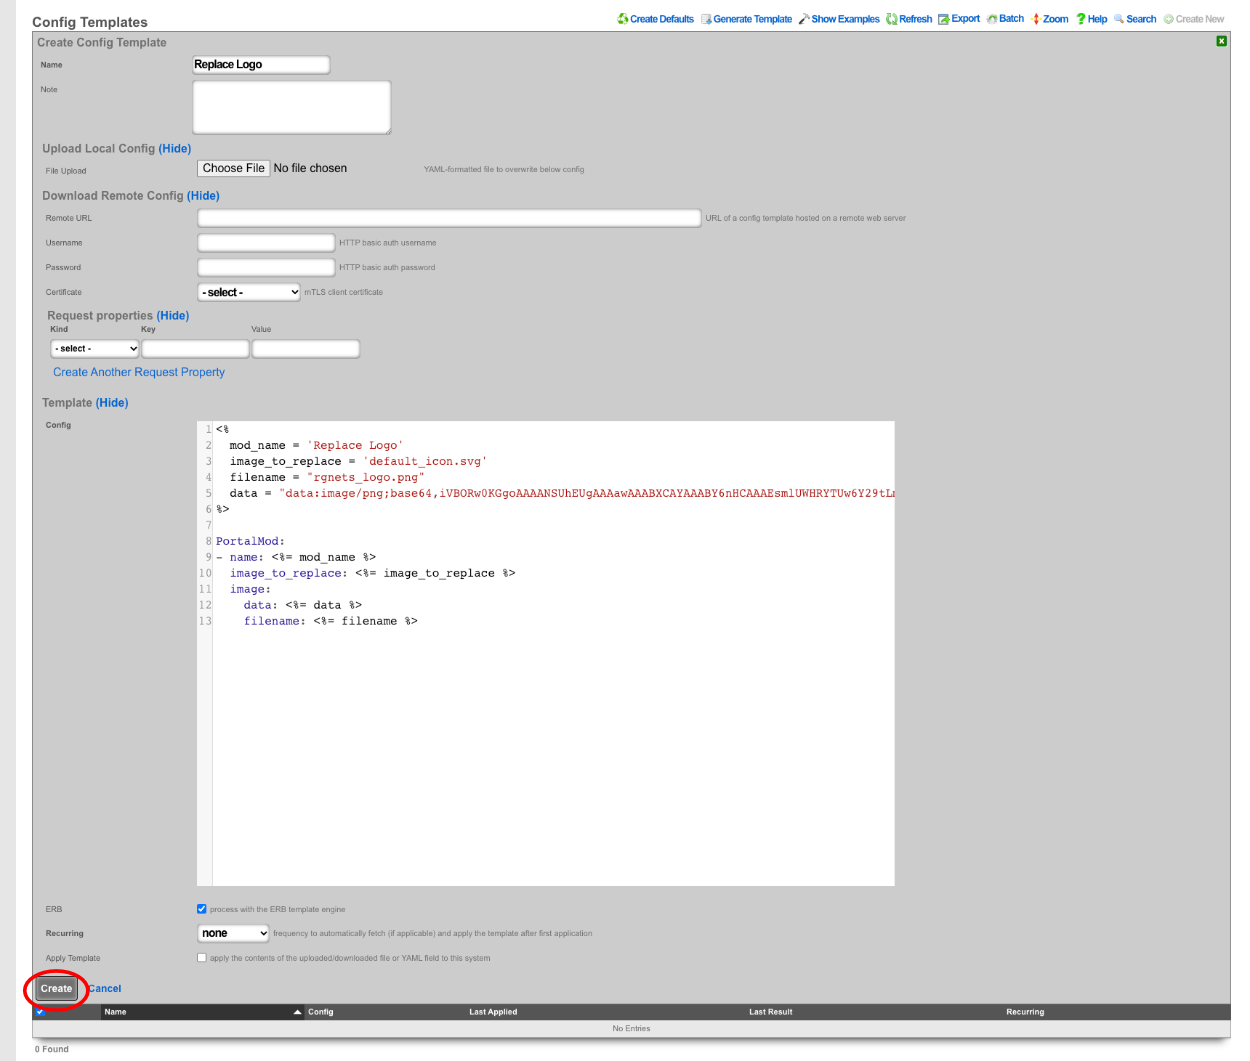
Navigate to System::Backup and create a new Config Template.

Give the Config Template a name, and enter the code into the Config field. Check the Apply Template box, this will save the template and apply it at the same time. Click Create

Next navigate to Policies::Captive Portal , the template has created a Portal Modification that can be used to replace the default_icon.svg file.

Example: Using Actiontext With Portal Mods
In this example we will create a Portal Modification that will allow us to quickly and easily modify the information found in the footer of portals all from a single location. Operators can use this to change or modify all or a select group of portals all at once. There are two portals that will be modified in this example.

Navigate to Policies::Captive Portal. First we need to create a Portal Modification that will display the custom view we are going to create to display our footer information.

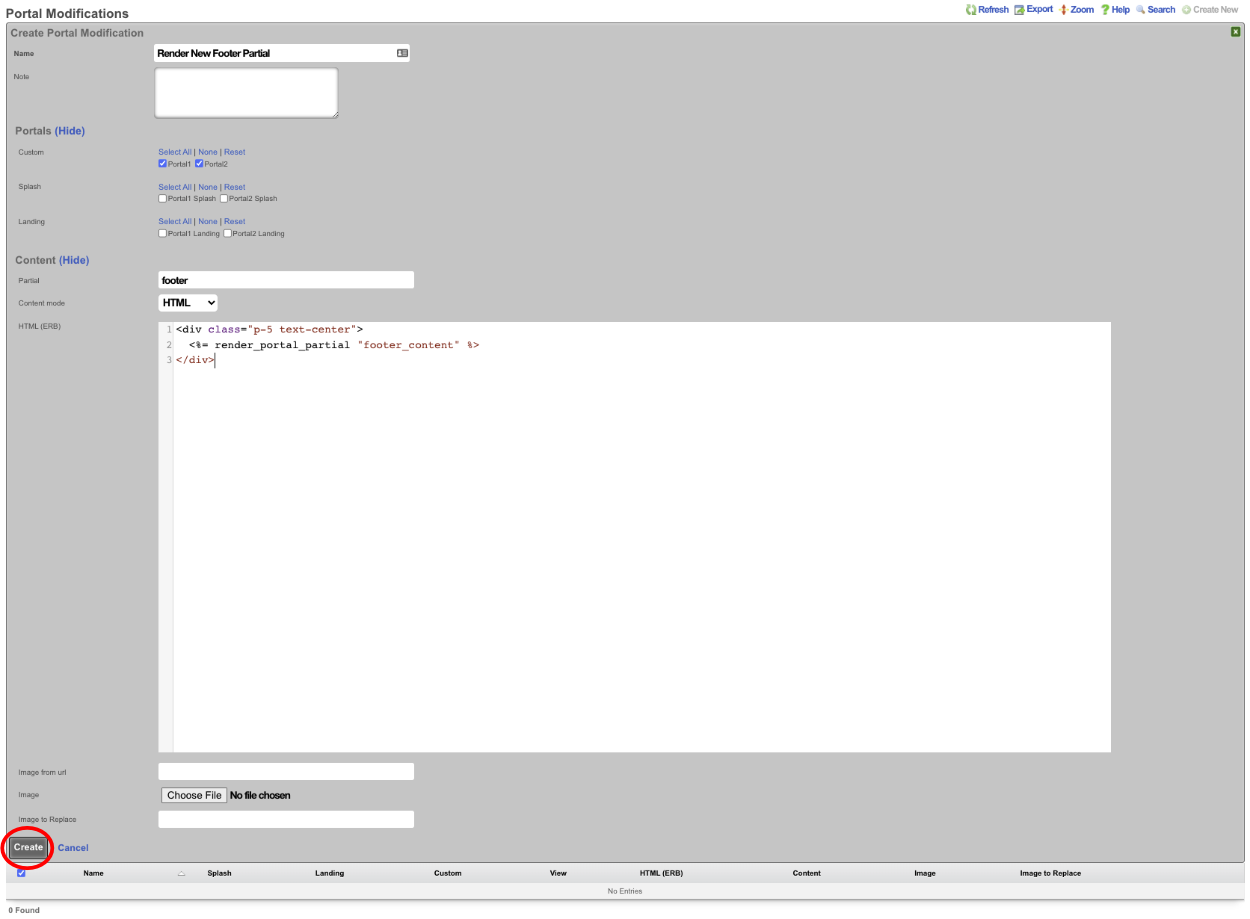
Give it a name and select which portals this Portal Mod will be applied to. In this example we want the information we are including in the footer to display on each page, so we will select both portals under the Custom field. If we only want the information to display on the splash portal then we would select both portals under the Splash field, and the same could be done for Landing as well. Since we are modifying the footer we need to specify that under the Partial field. When you start to type the name of the Partial it will give you a list to choose from, we want to select footer. For this first Portal Mod leave the Content mode set to HTML. Here we are creating a div that will display the view we will create in the next step, this also allows us to give it some formatting like centering the text. See screenshot below, click Create.
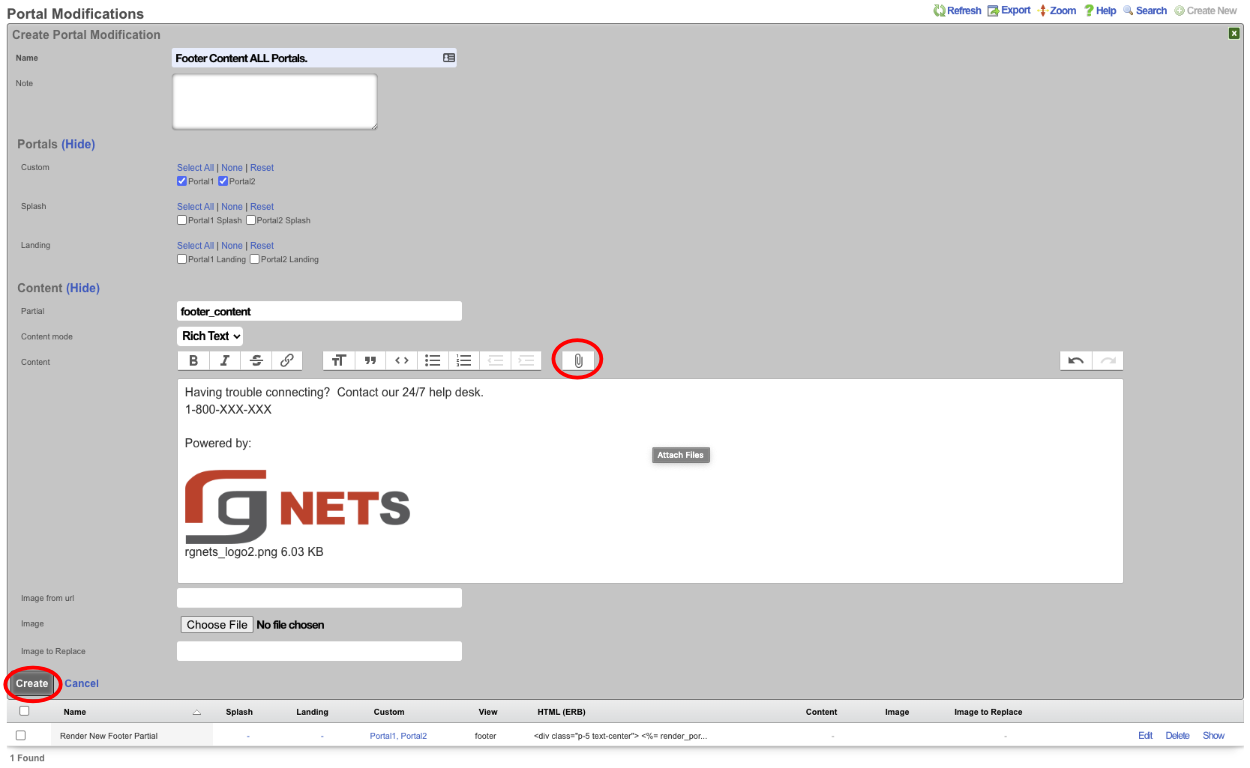
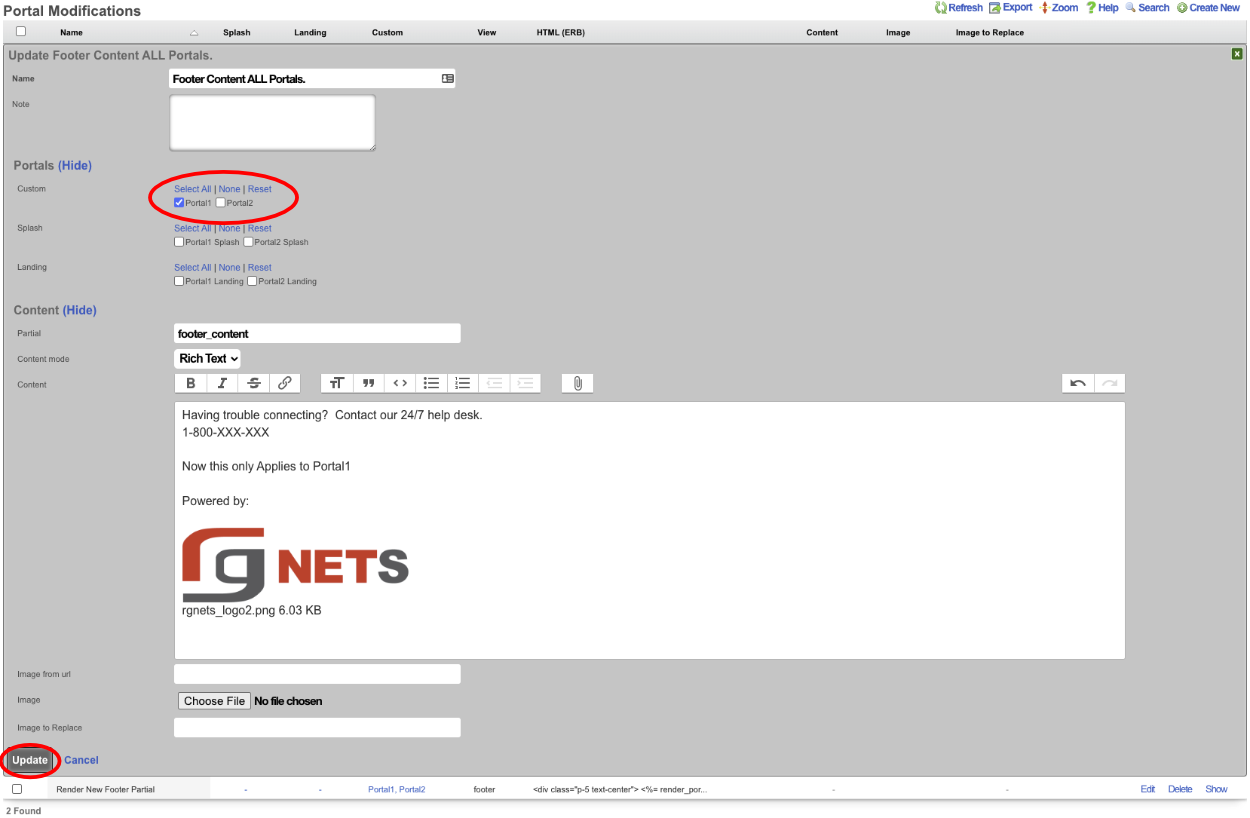
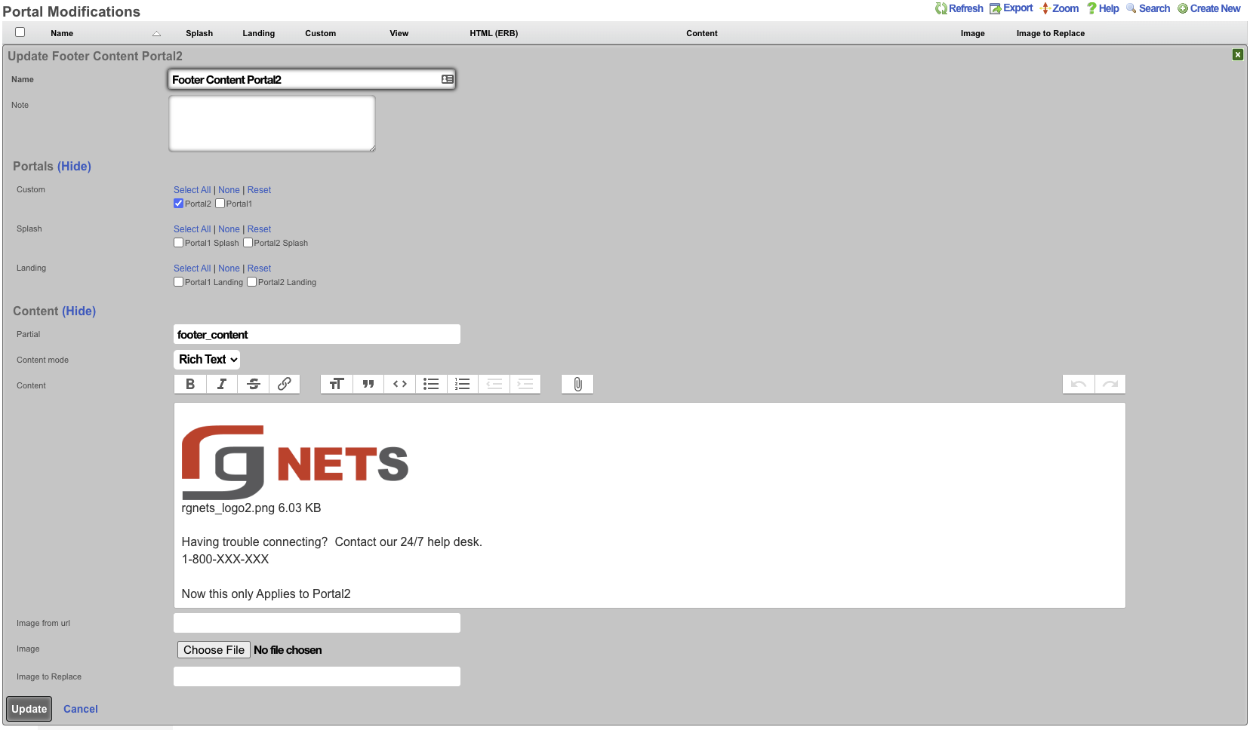
Next create a second Portal Modification , this one will contain the information we want to display in the footer. Give it a name and select which portals this content will be added to. For this example I am selecting both portals under the Custom field. In the Partial field we are going to enter in the name of the view we are calling in the previous step, in this example that was footer_content. Change the Content mode to Rich Text , we can now enter in the content for our footer. Images can be included as well by clicking the paperclip icon and selecting an image. Click Create.
Now if we visit the default portal which the Portal modifications haven't been applied to we get the following.
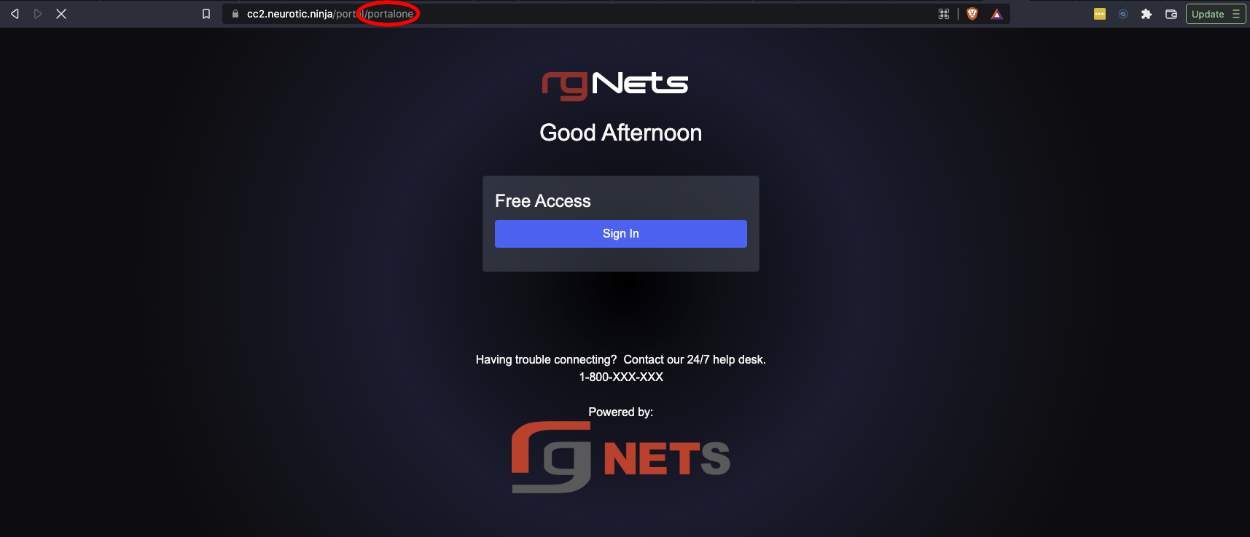
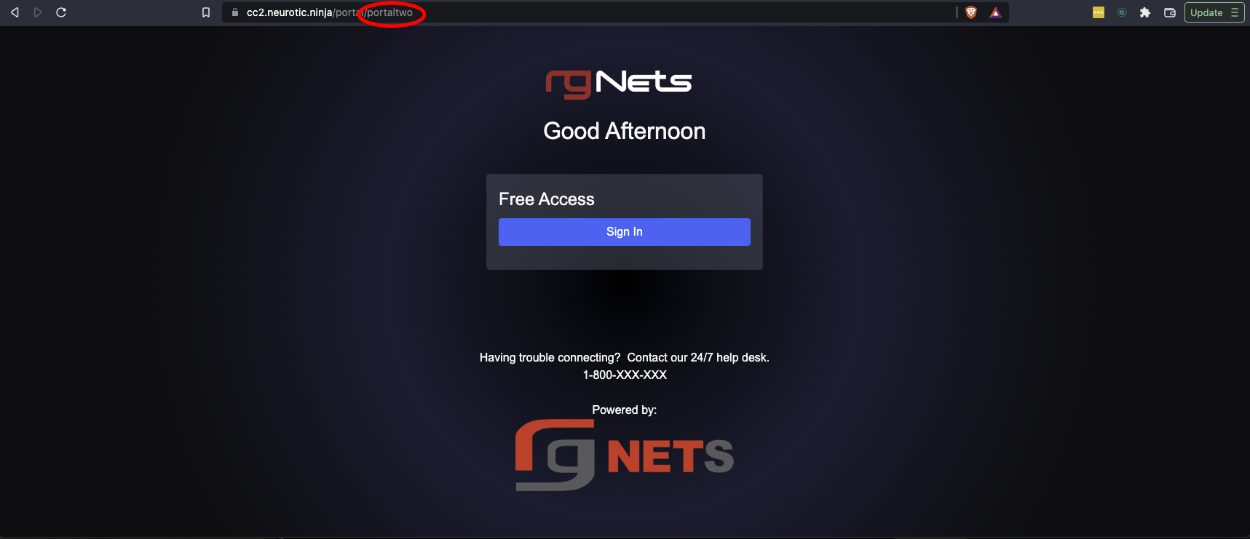
If we visit portalone or portaltwo we will see that the mods we created show up because these were the portals we selected.
We can take this a step further by editing the Portal Modification record that contains the phone number and image and change it so that it only applies to portalone, and we will create another record that applies to only portaltwo. Edit the record and unselect portaltwo.
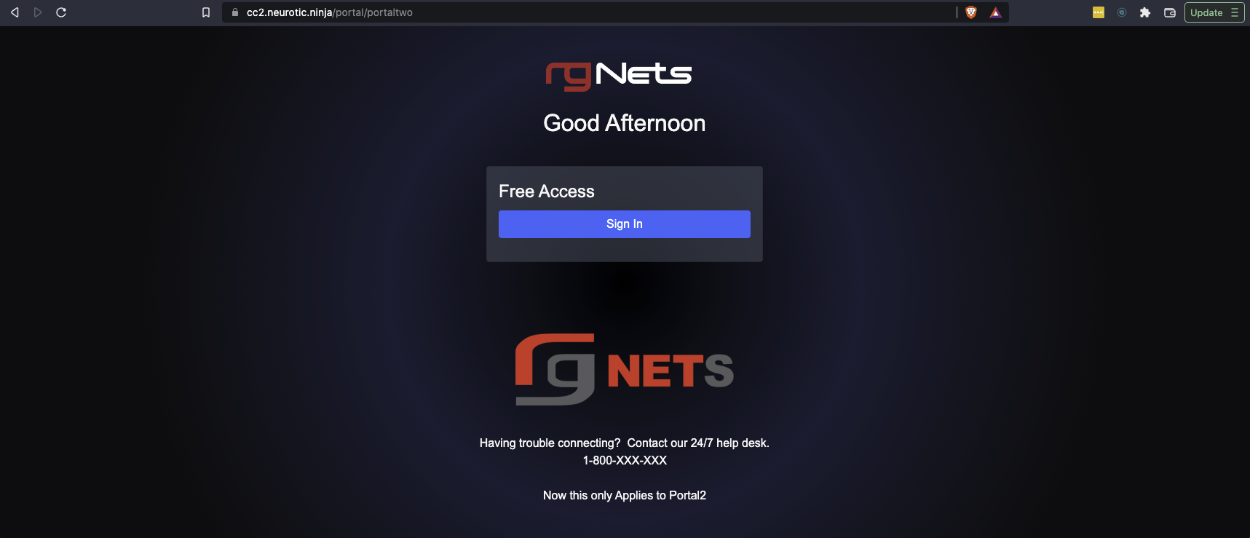
Now create a new Portal Modification selecting only portaltwo, and change the content. We will move the logo above the other content for this one.
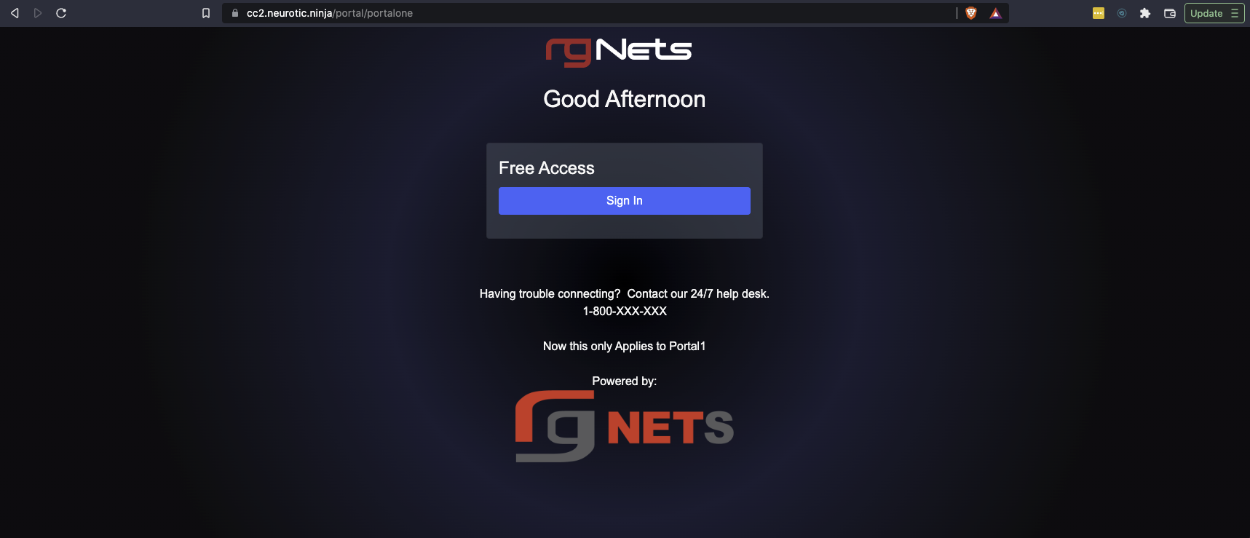
Now if we look at portalone, we get the following result.
And finally looking at portal two we get the following result.
Example: Change Background Image
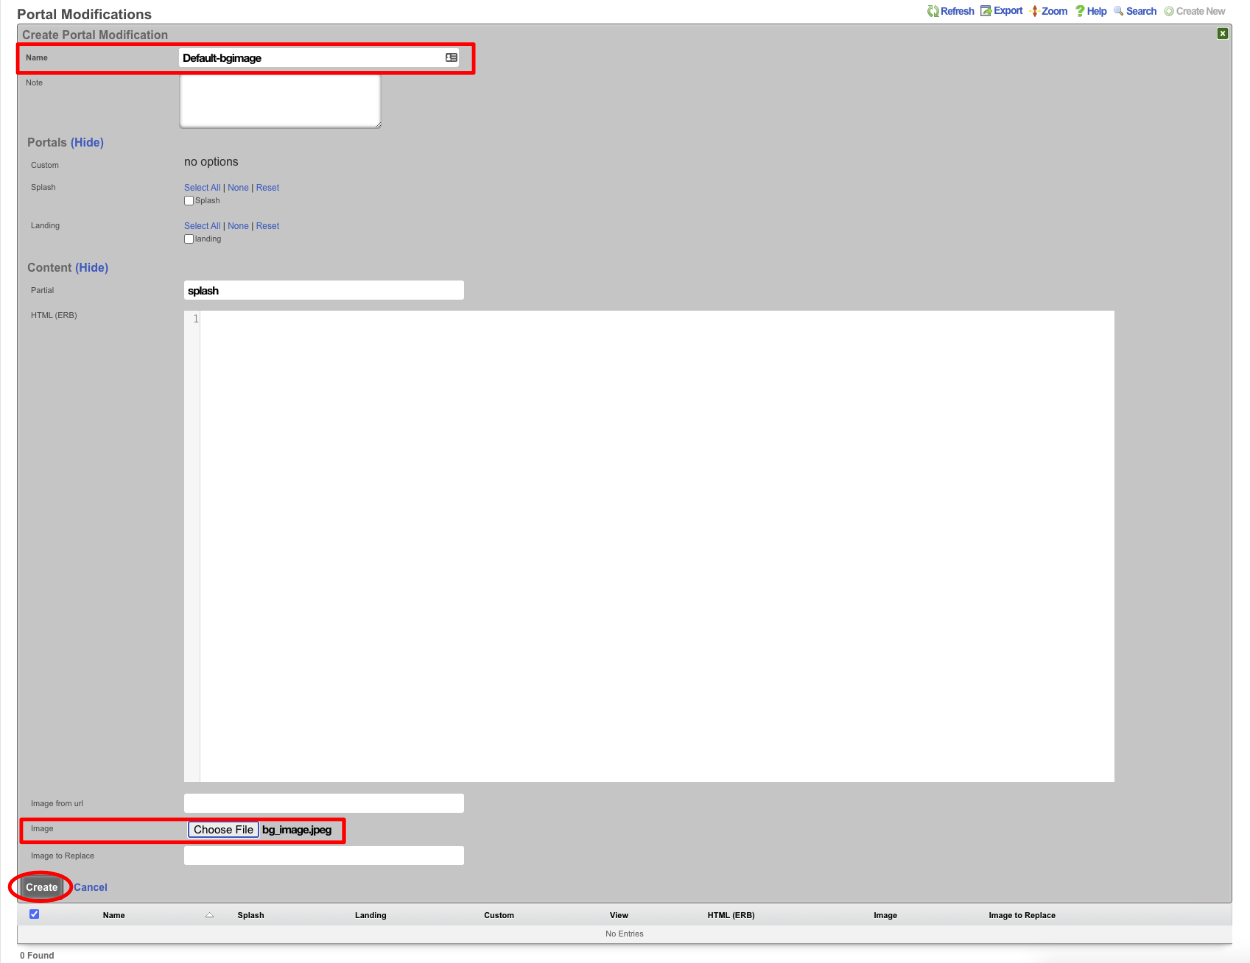
In this example, we will use Portal Modifications to add a background image to the default portal. Because the default portal's background gradient is defined solely using CSS rules, we will need to add some CSS in order to set a background-image. We will create two portal modifications to accomplish this. The first will serve the purpose of storing the background image, which will be referenced by the second Portal Mod's CSS rules.

Give the portal mod a name, which should reflect the purpose of the modification (this name will be referenced by our second Portal Mod). For this example we will use "Default-bgimage". Since this Portal Mod won't be rendered directly, there is no need to select any portals in the Custom, Splash, or Landing fields so those fields should be left blank. Next, click on the Choose File button and select the image to be used for the background. Click Create. Note: recommended formats are .jpg for reduced size or .svg for better resizing.
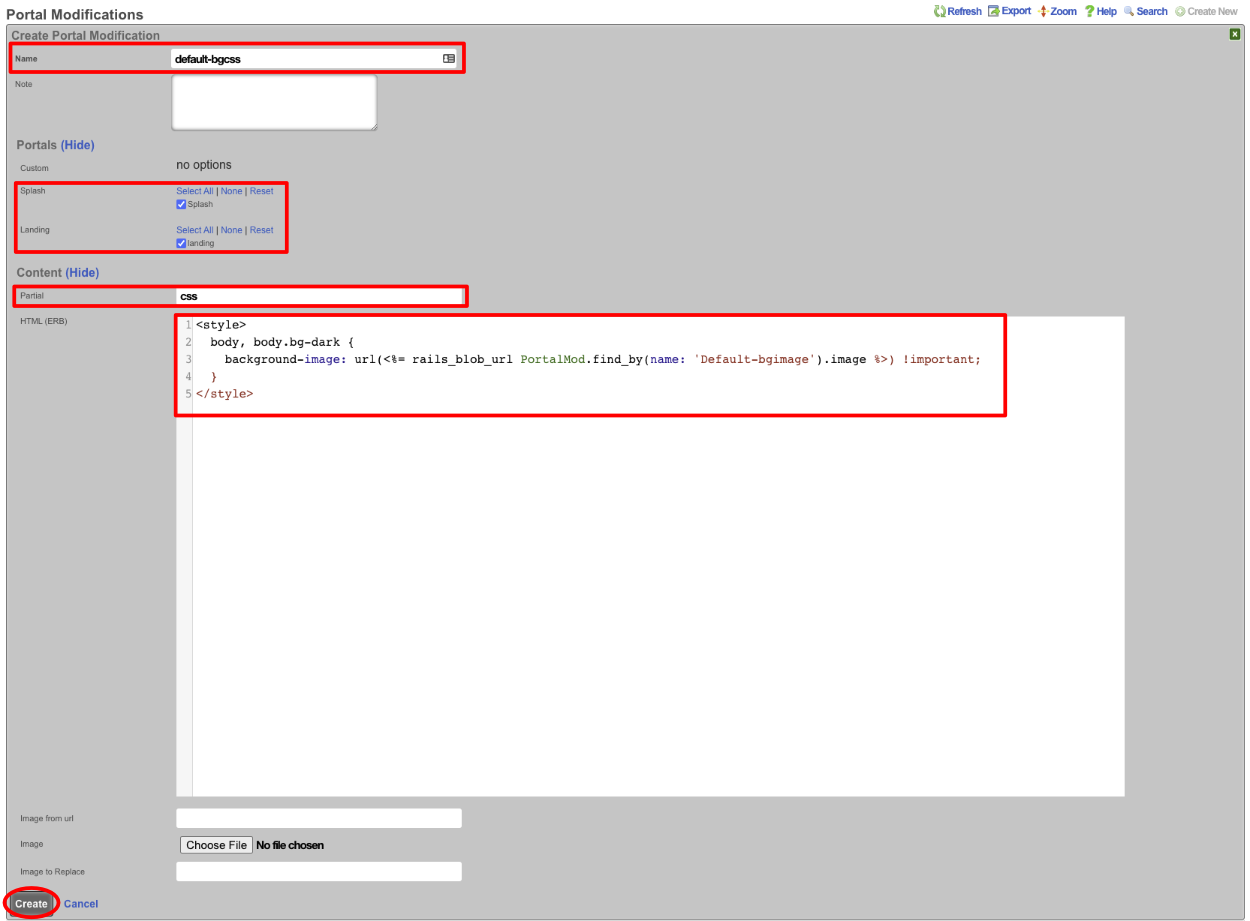
Create a Second Portal Mod, which will modify the CSS Partial. Give the portal mod a name, again it should reflect its purpose. Select the Splash and Landing portal to which it will apply. Enter "CSS" in the partial field. Add the following code to the HTML(ERB) field:
<style>
  body, body.bg-dark {
    background-image: url(<%= rails_blob_url PortalMod.find_by(name: 'Default-bgimage').image %>) !important;
  }
</style>
Click Create.
We should have two Portal Modifications now, and when we view the default portal it will have our new background image.