Radius Based Location
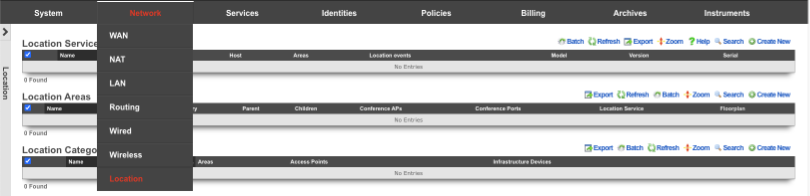
Navigate to Network :: Locattion
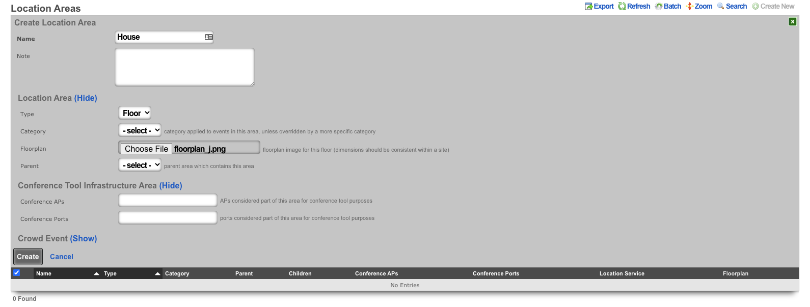
Create a new Location Area
Name is arbitrary. Set Type to Floor. Choose File to use as the Floorplan. Click Create.
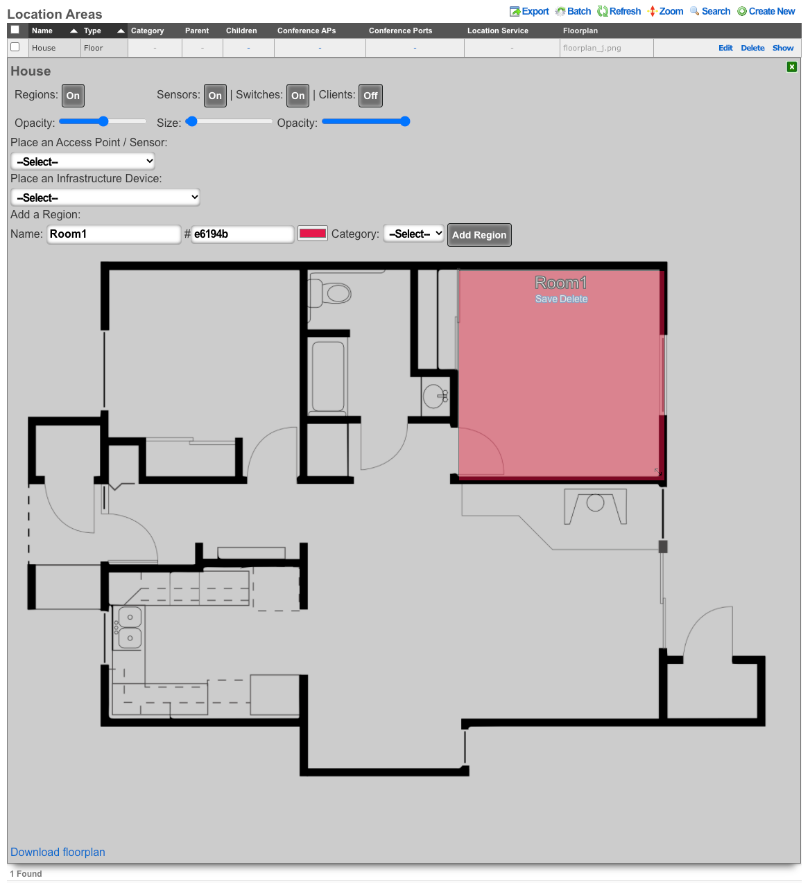
Click on the floorplan and create a Region
In the Add a Region section give the Region a name, and select a color if desired. Click Add Region Drag the Region to the upper left corner of the room it represents and drag the corner to expand the Region to cover the room. Click Save in the Region to save the size and placement of the region.
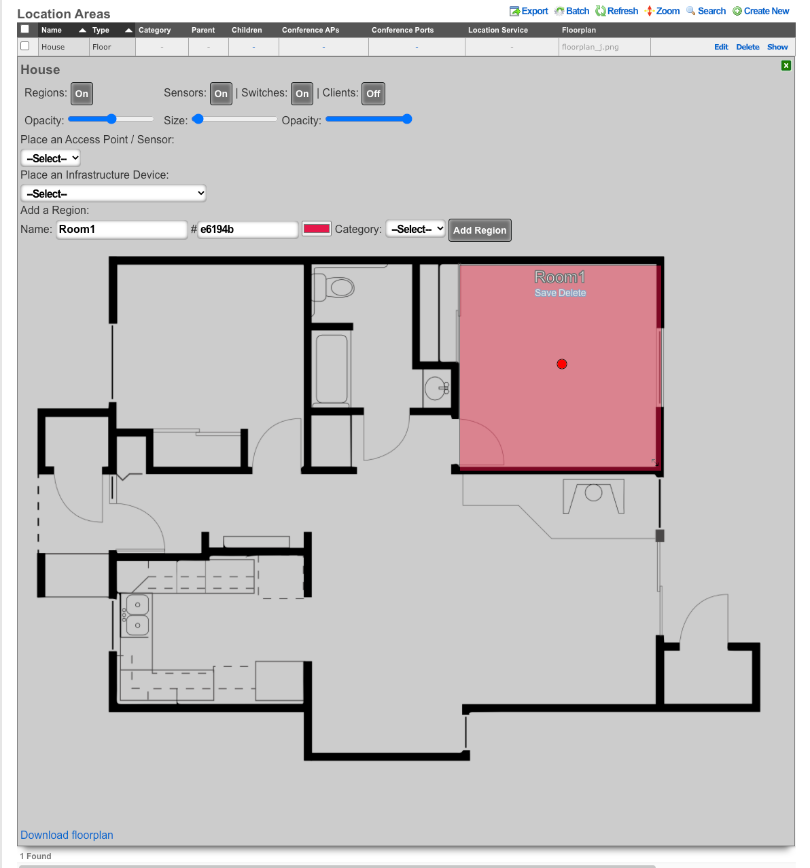
Place the Access Point
In the Place an Access Point / Sensor section click the dropdown and select the Access Point. Click the Drag me button, and drag the Access Point into the Region that was previously created. Click Save on the Access Point box. Click the Green box in the upper right corner to close the Floorplan.
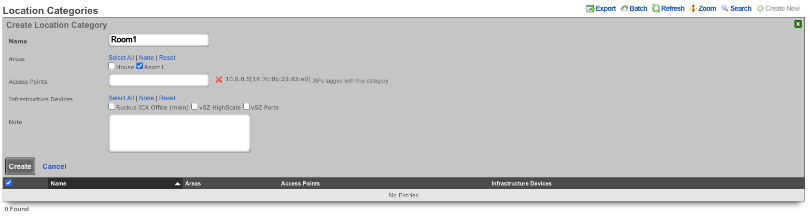
Create a new Location Category
Create a new Location Category. Name is arbitrary. For the Areas field select the Region creatd previously that contains the Access Point. For the Access Point field, click into the box and select the AP that is located within the Region created previously. Click Create.
Example of Location based Space-Time Trigger
In this example we will setup a Space-Time Trigger that looks at the dwell time of a device and sends an email when the dwell time is exceeded. First we will need to create the email to send out when the dwell time is exceeded. Navigate to Services :: Notifications.

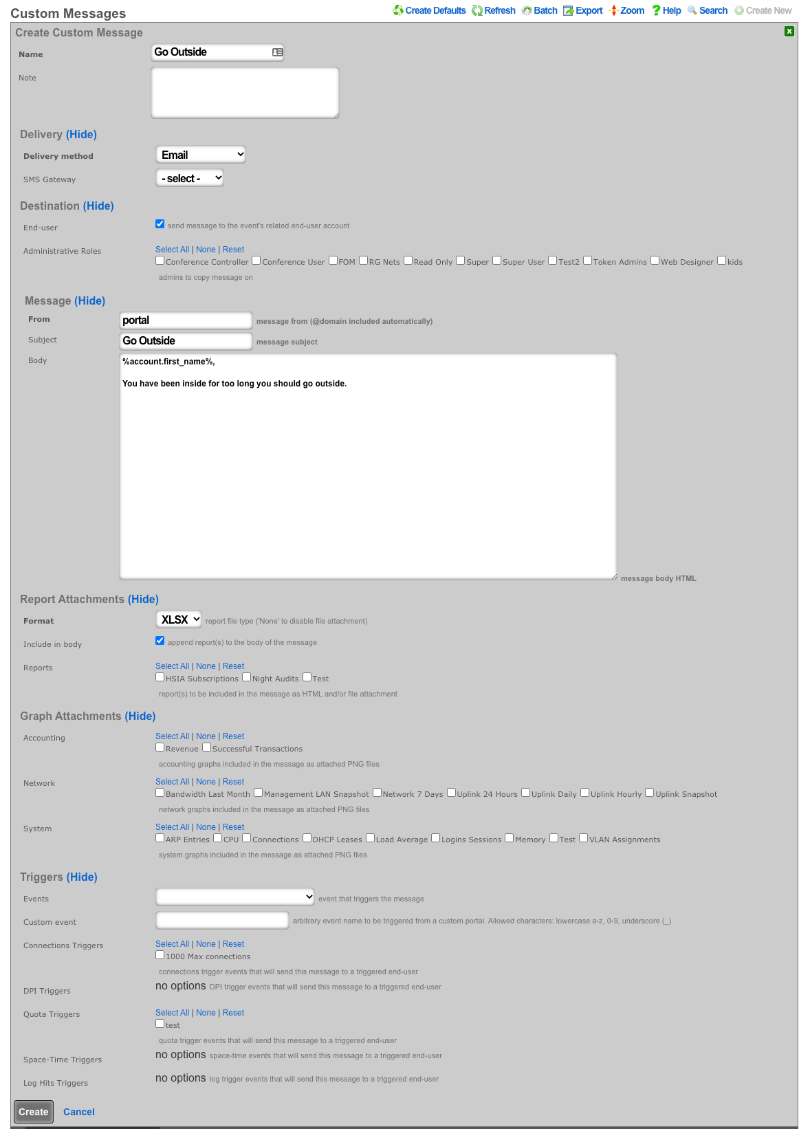
Create a new Custom Message. Name is arbitrary. Destination should have the End-user check box selected by default, do not select any Administrative Roles unless you want those admins to also receive the message. Under Message, set the Subject and fill out the Body with the message you want the end user or admin to receive. Click Create.
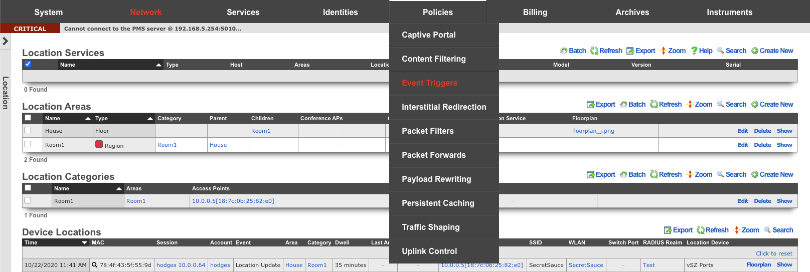
Navigate to Policies :: Event Triggers.
Create a new Space-Time Trigger. Name is arbitrary. Select the Policies that the Space-Time Trigger will be enforced on. Under Space Enforcement set the Current Area to area the Access Point is associated with. Set Current dwell to the amount of time that must be met to set off the trigger. Under Transition Behavior uncheck Flush connection states. Under Notifications specify the message that will be sent by clicking in the Messages box and then select the message created previously. Click Create.
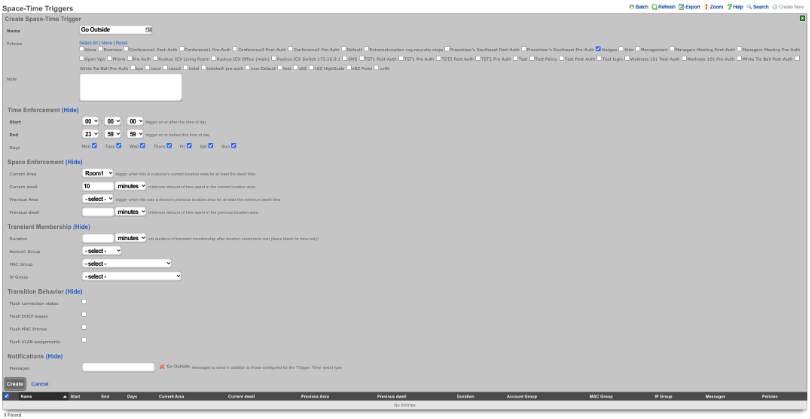
This will now send an email to end user if they dwell in the area for more than 10 minutes.
Example of Location based Crowd Event
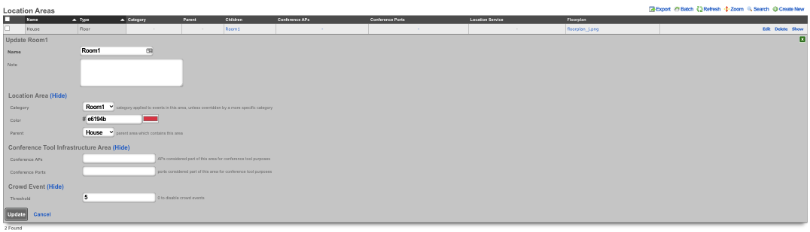
Navigate to Network :: Location
Edit the Location Area where the crowd event should take place. Click Show for Crowd Event. Set the Threshold to the desired number of devices that should trigger the event. Click Update.
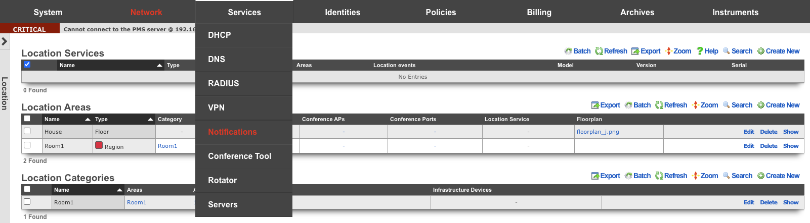
Navigate to Services :: Notifications
Create a new Custom Message. Name is arbitrary. Destination should have the End-user check box unselected. Check the admin roles you want to receive the crowd formed message. Under Message, set the Subject and fill out the Body with the message you want admin to receive. Click Create.
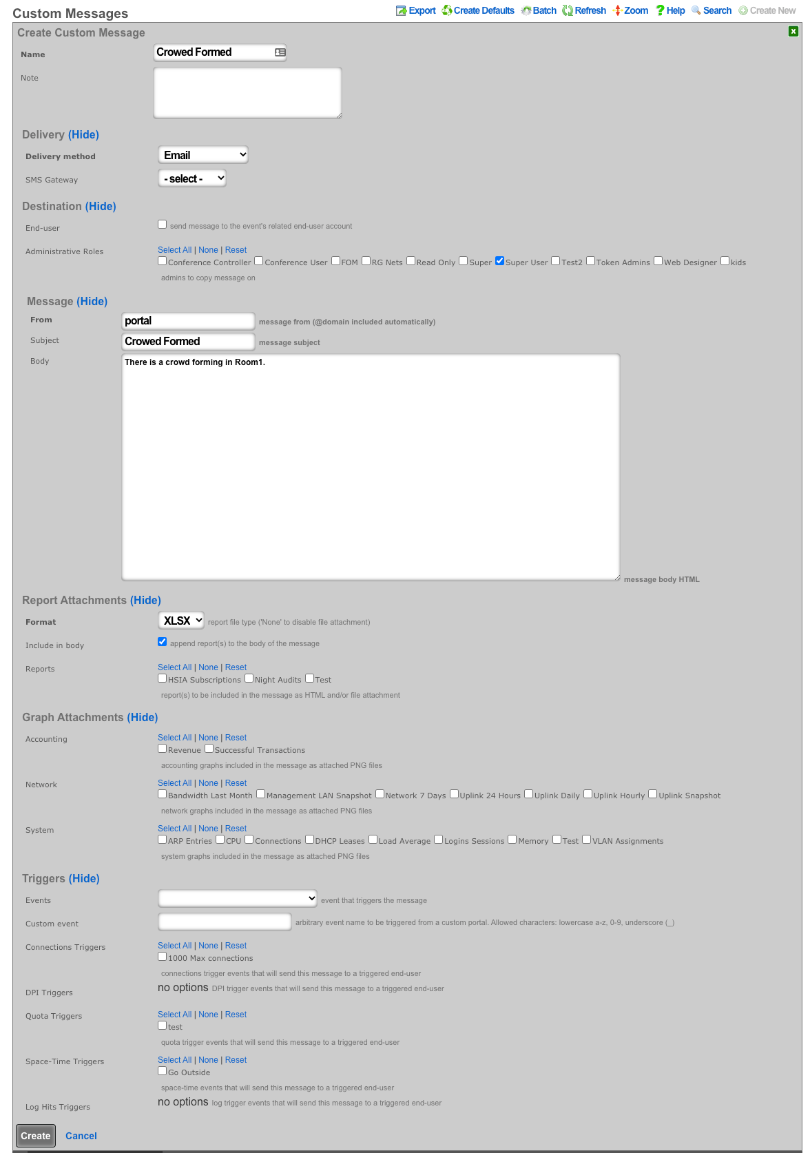
Create a new Notification Action. Name is arbitrary. Set Event Type to Location: Crowd Formed. Click in the Messages box and select the Custom Message created in the previous step. Click Create. Now when a crowd forms a message will be sent to the admin(s) roles selected.


