Bootstrap License
Access the rXg Admin interface
After installing the ISO and viewing the CLI, find the IP address and use a browser to navigate to https://%lt;ip.address%gt;/admin and you will be presented with the create first admin GUI.
You may choose to access the rXg from the LAN or the WAN. For the purposes of this lab, use your management computer to connect to the LAN side of the rXg via the wireless network that has been created for your lab (lab0X SSID).
When configuring a single physical rXg, this will be the_highest_ numbered port. Usually this is EM3 or IGB3. For a virtual installation, you must connect to the same vSwitch portgroup as the last virtual interface of the guest VM.
The LAN interface runs a DHCP server, handing out addresses in consecutive /30 subnets starting at 192.168.5.0/30. Check your computers network configuration to find the default gateway you were assigned (usually will be 192.168.5.1 ). This is the IP you will use to access the rXg from the LAN.
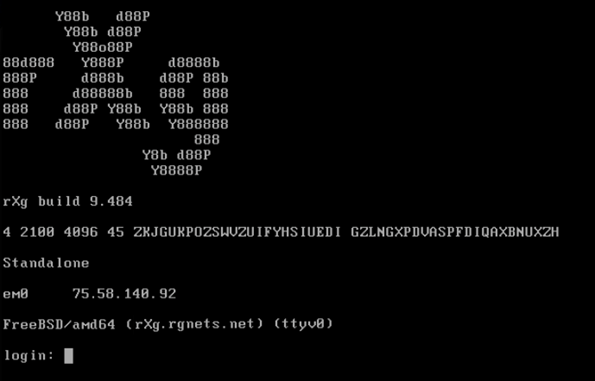
Alternatively, the lowest numbered port (EM0 or IGB0) will act as the default WAN port, and will function by default as a DHCP_client_. If you have a DHCP server connected to the WAN side, you can see the IP address that the rXg receives by checking the DHCP servers logs or by looking at the physical or virtual console:
In a web browser, access the url https://<ip.of.rxg>/admin. For example:
Surf to https://192.168.5.1/admin/
Accept the self-signed certificate warning.
Create the first Administrator
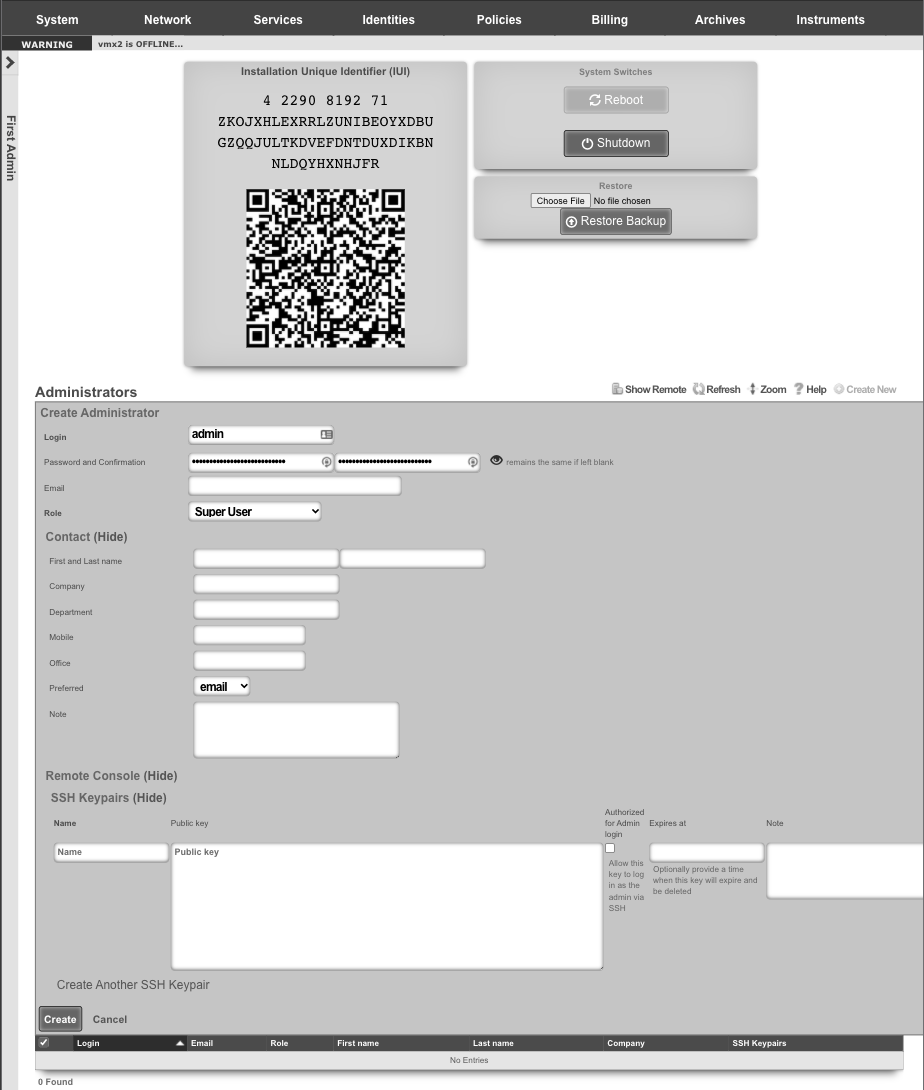
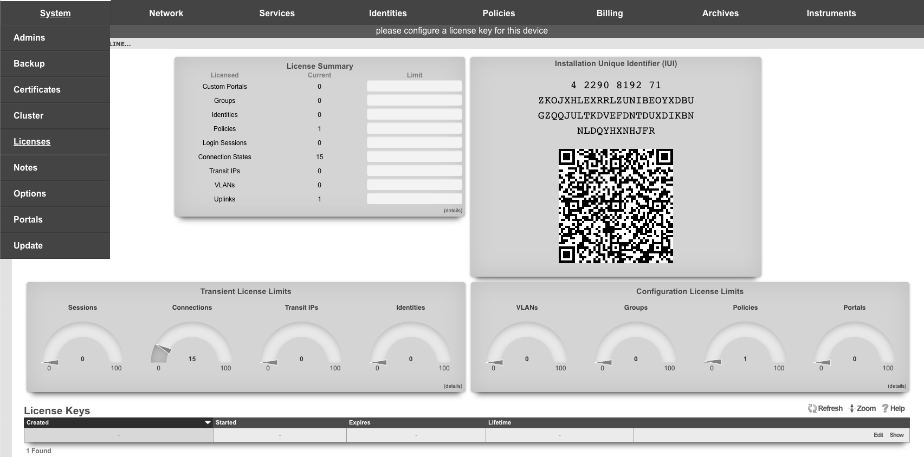
When creating the first administrator credentials, strong passwords are required. Passwords should include lower case, upper case, numbers and symbols. If you have a private/public key pair that you will use for SSH/ SCP access to the rXg, include the public key in your admin record. Note: When creating the first administrator you will see a QR Code and a long string of alpha numeric characters. You will need to copy these characters to license your copy of the rXg.
Click Create New in the Administrators scaffold.
Enter a login and a secure password. Passwords that do not meet complexity requirements will not be accepted. Good passwords are long, and contain characters from multiple classes (lower case, upper case, numbers and symbols). If you have a private/public key pair that you wish to use for SSH/SCP access to the rXg, you may enter your public key in your admin record.
Click Create when finished.
Access License Portal
When you signed up for your Free version of the rXg or made your purchase, an asset was assigned to your unique credentials on the store. Login to https://store.rgnets.com with those same credentials to obtain your license.
The rXg will not route traffic until it is licensed. Connect to a network with Internet access ( RGNets Training SSID).
Visit https://store.rgnets.com and log in with your RG Nets support credentials. Click on Asset Manager on the top of the page.
Update DNS name
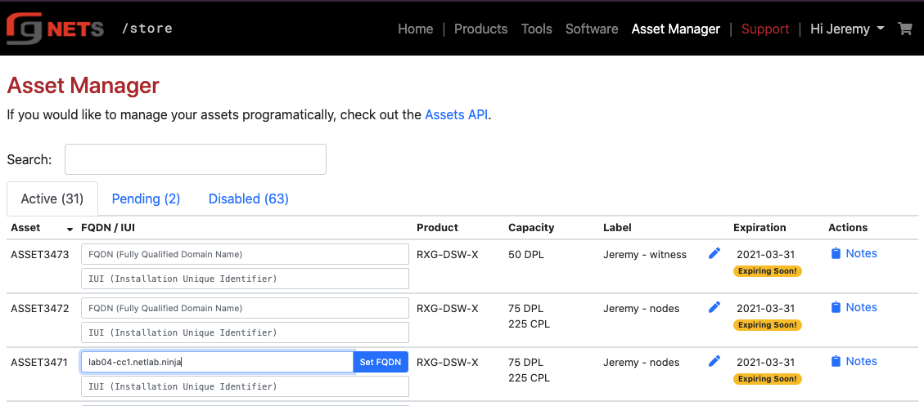
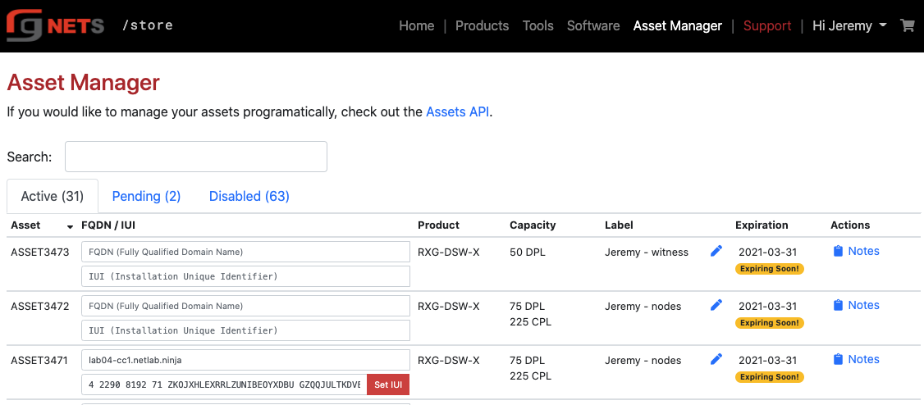
Within the Asset Manager at https://store.rgnets.com navigate to "Asset Manager" in the main navigation. Find the asset assigned in the table below, if this is your first installation or the Free Version of the rXg you will only have one asset to update the FQDN and IUI. In the space provided, type or paste the fully qualified domain name (can be subdomained) associated with this installation (example shown here for lab04-cc1.netlab.ninja).
Enter fully qualified domain name and press the rename button. Press the Set FQDN button when complete.
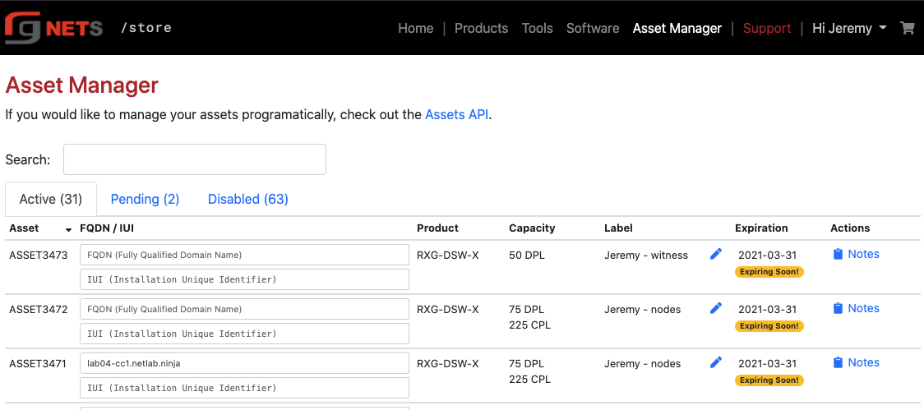
Update the IUI
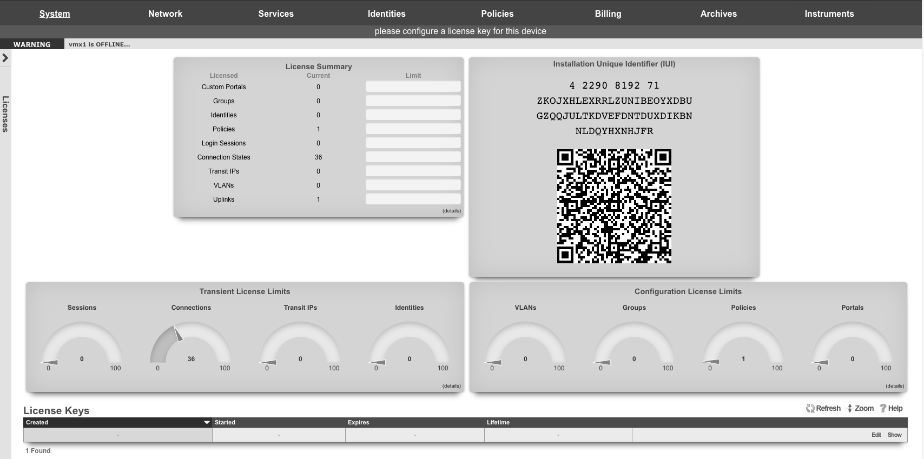
From the initial "Create First Administrator" screen, copy and paste the Installation Unique Identifier (IUI) in the field provided in the Asset Manager table.
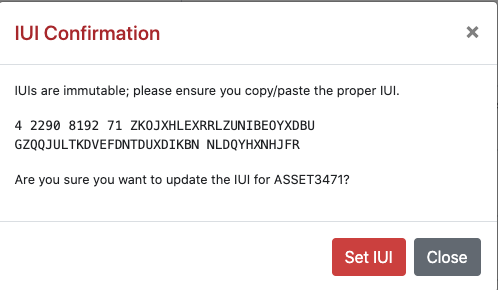
The IUI uniquely identifies the rXg installation, and is tied to the hardware in the system. Any hardware changes after the IUI has been entered into the licensing portal requires re-licensing with RG Nets.
Enter the IUI obtained from the first new admin view of the rXg admin console and press the Set IUI button. On the next screen press Set IUI button again.
Obtain License
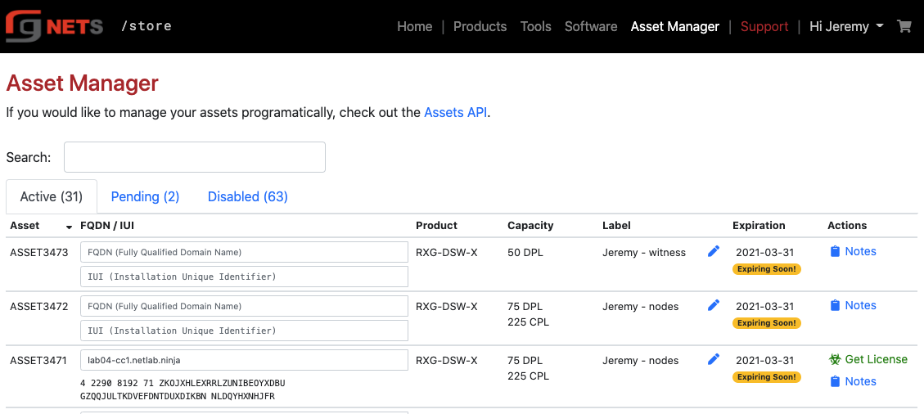
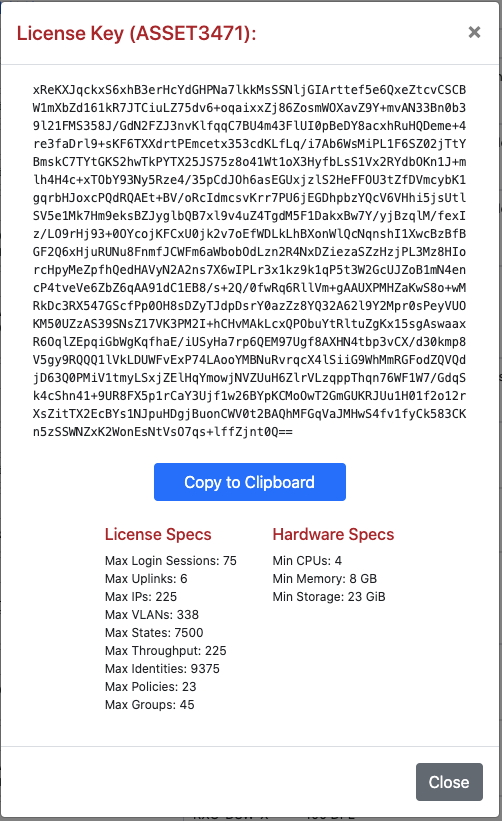
Once you have set the FQDN and IUI, click the Get License button. In the popup, the Asset Manager will provide a unique license key. Press the Copy to Clipboard button to copy the license.
Navigate to System :: Licenses
Edit the License Key
Click Edit in the license keys scaffold.
Paste the license from license portal
Click Update when complete.
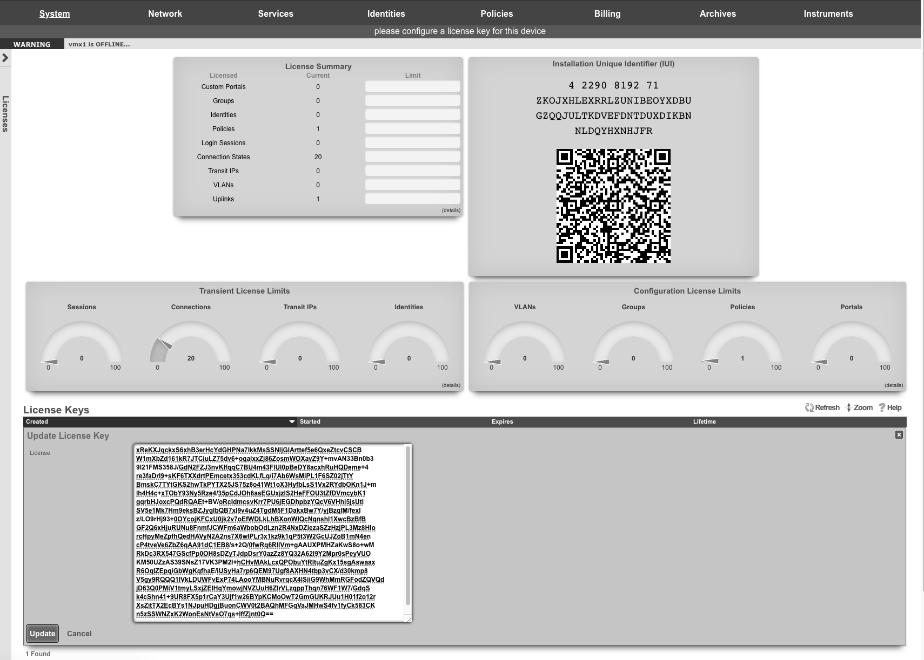
After updating the license, the rXg will take a moment to restart its background processes to open up access to the rest of the admin console.


