Custom Data Sets and Keys
The use of Custom Data Sets and Custom data Keys always revolves around doing portal customization. Logic can be added to the portal so that it can pull data from a Custom Data Key, that allows you to deploy the same portal code in many locations and "configure it" with Custom Data Sets and Keys. The below example will show how to use Custom Data Keys to display an address in the footer of a custom portal. This allows the address to be changed at each location by changing the Custom Data Key and not editing the portal directly. For most use cases Portal Modifications may be the better option, Custom Data Sets/Keys can also be combined with Portal Modifications.
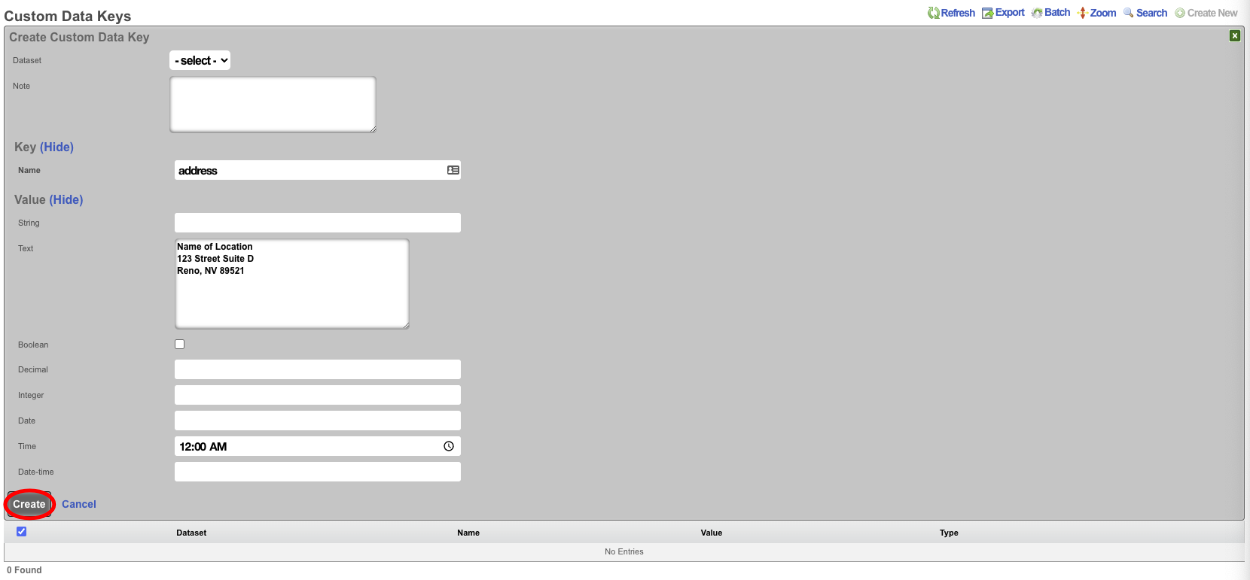
For this example we do not need to use a Custom Data Set, we could just use a Custom Data Key by itself, we will configure it both ways. First without using a Custom Data Set. First navigate to System::Portals and create a new Custom Data Key.

Leave the Dataset field set to -select->. Give the record a name, the name will be refereced in the code so the name should reflect the purpose of the record. This will be named address since that is the information we are storing. It should be noted that while Custom Data Set names are unique it is possible to have mutlple Custom Data Key records with the same name. The address will be entered into the Text field. A value of each type can be stored in a single Custom Data Key if desired. Click Create.
To display this data in a portal we can edit the footer view in the portal or we can use a Portal Modification to override the footer view in the portal. For the purpose of this example we will create a Portal Modification. Create a new Portal Modification.

Give the Portal Modification a name, and select which portals the Portal Modification will apply to. In this case we will select both the Splash and Landing portals, if we selected only Splash then the address would only display in the Splash side of the portal and will not be present in the Landing portal after the user authenticates. In the Parital tab start to type footer and select footer from the dropdown menu. In the HTML b> field we can enter the code the will call the address, we can also use HTML here to center the data. To access the data stored in the Custom Data Key use <%= CustomDataKey.find_by(name: 'address').value_text %>. Click Create.

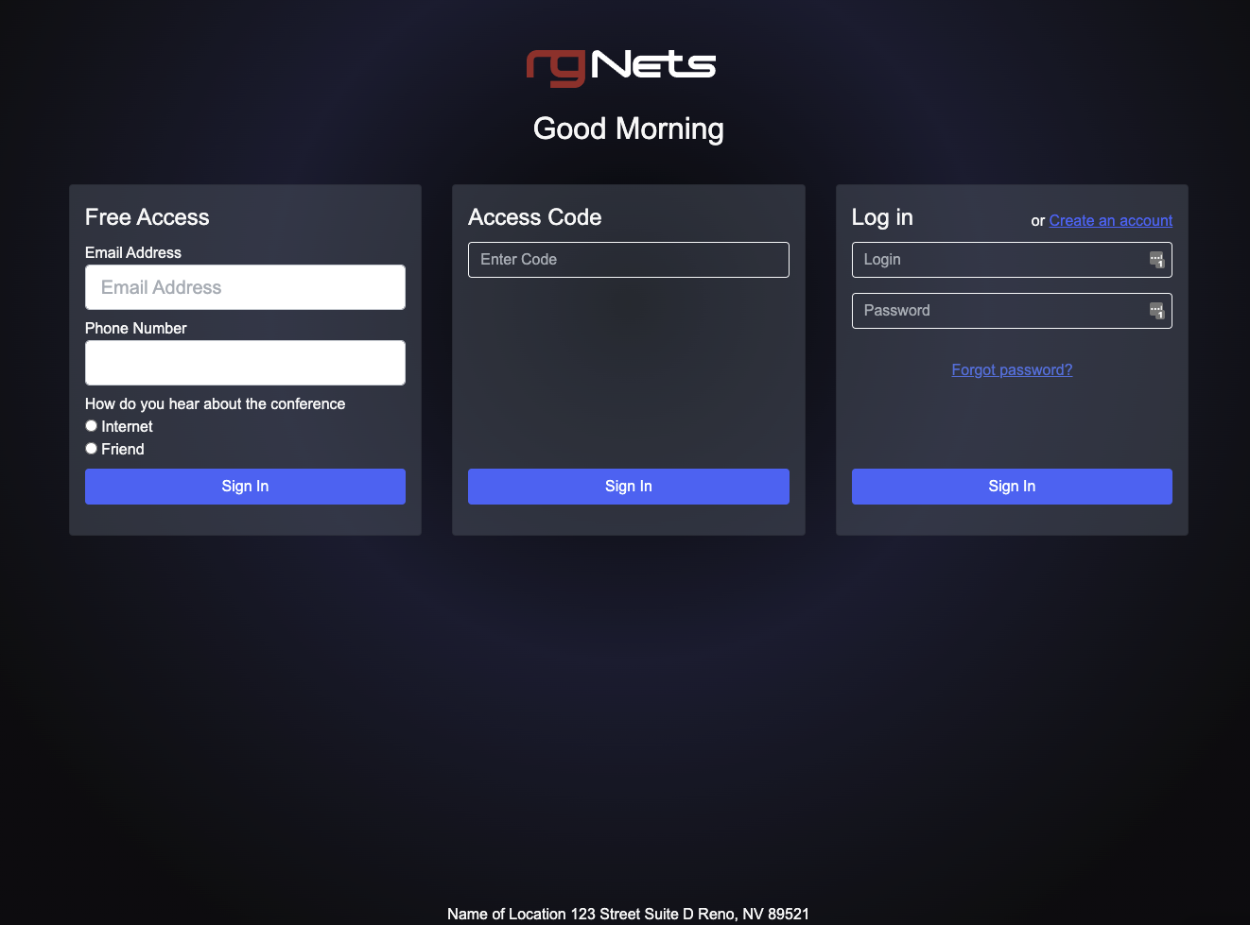
Now if we visit the portal we will see the address displayed in the footer. However it is all on one line.
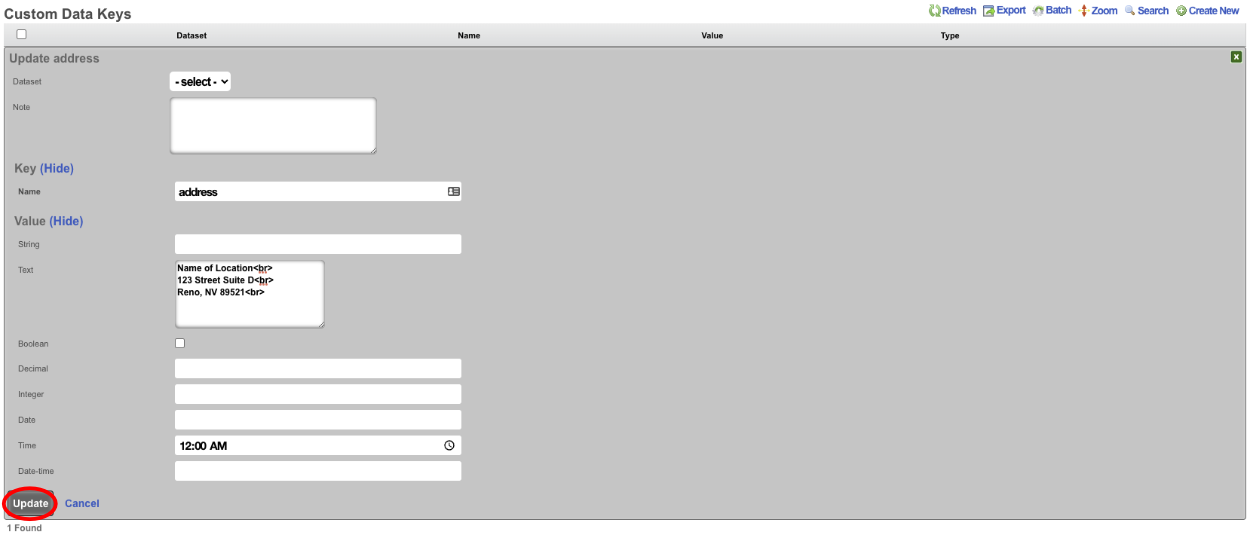
This can be corrected by editing the Custom Data Key and adding <br> after each line, then updating the record.
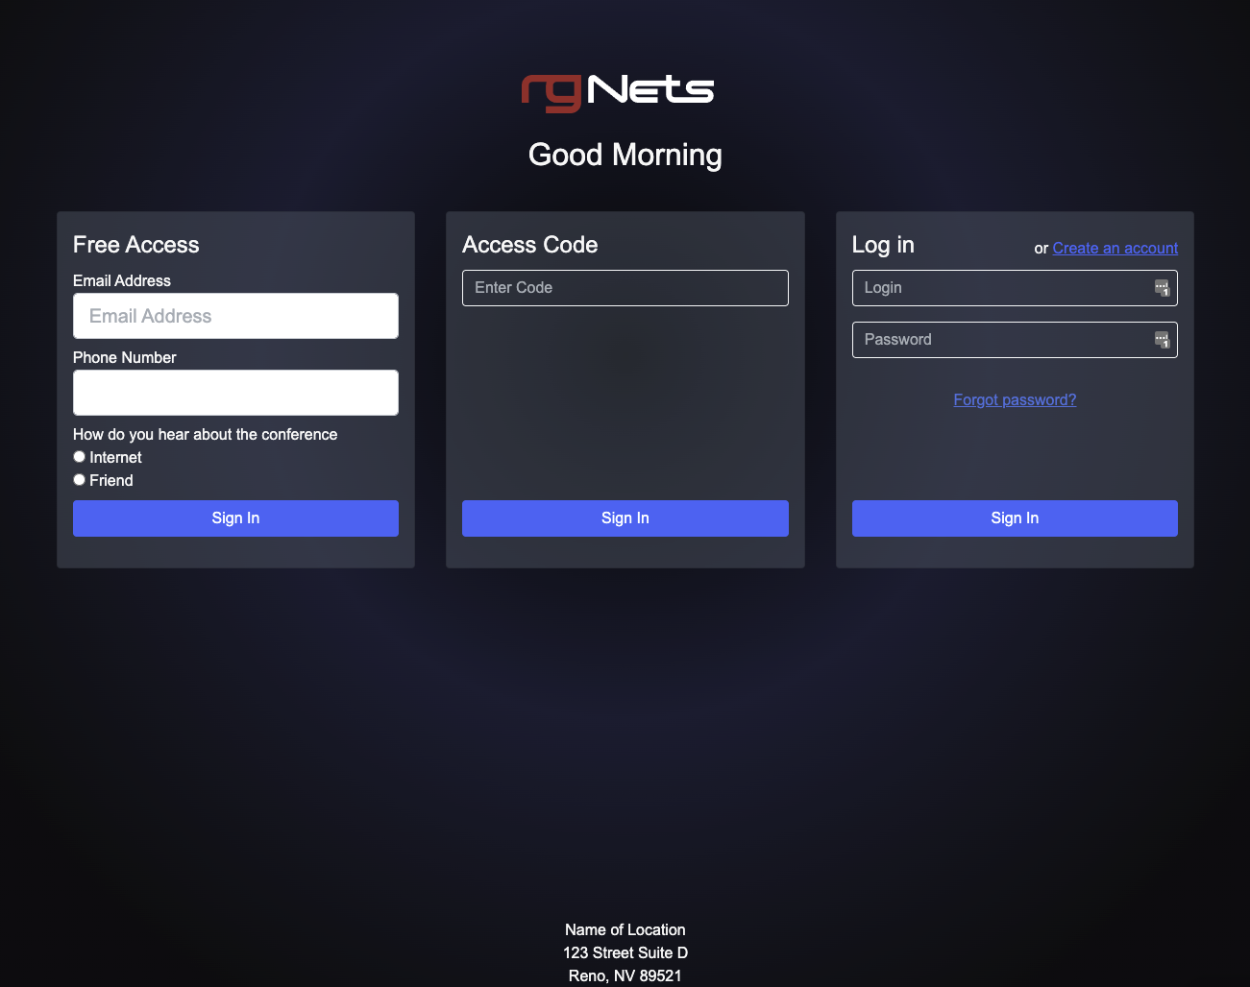
Now when the portal is viewed, each line of the address will now be on its own line.
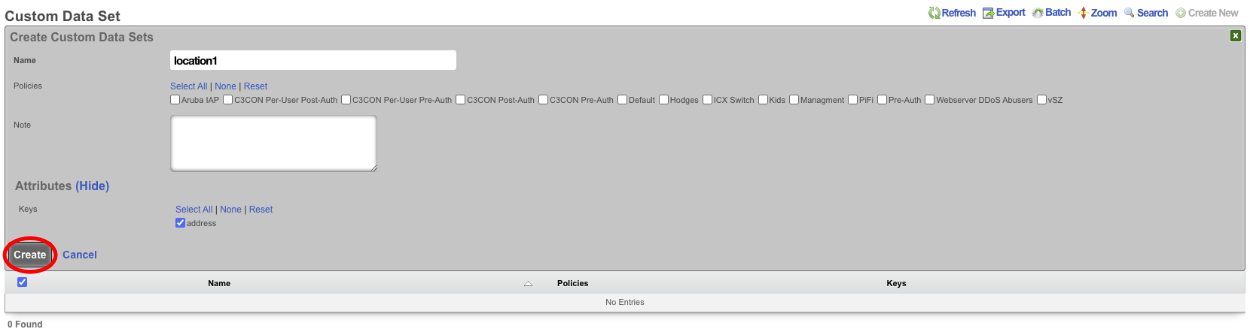
There may be a need to display a different address on another portal, we could create a Custom Data Key, but we would need to change the name of the key which means we cannot use the same code on each portal. However if we tie the Key into a Custom Data Set we can recall the Key from the Set. To configure this for this example create a new Custom Data Set.

Give the Custom Data Set record a name, this will be used in the code to reference the record. For this example we do not need to restrict the Set to specifc policy or group of policies so do not select any. Under Attributes check the address record in the Key field, and click Create.
Next we need to edit the Portal Modification we created earlier.

We need to change the line <%= CustomDataKey.find_by(name: 'address').value_text %> to <%= CustomDataSet.find_by(name: 'location1').get('address') %>. Update the record. When viewing the portal it will display the same information we are just pulling it from the Key via the Data Set instead of directly from the Key itself.


