Bootstrap System
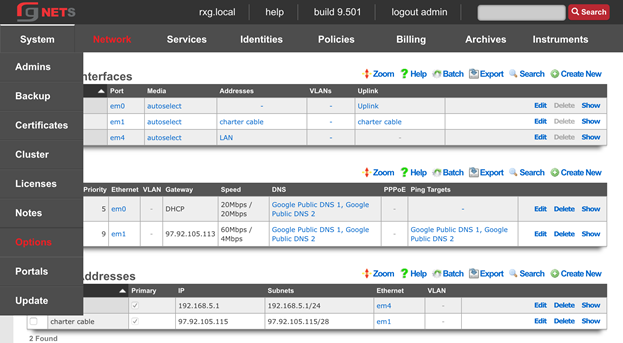
Navigate to System :: Options
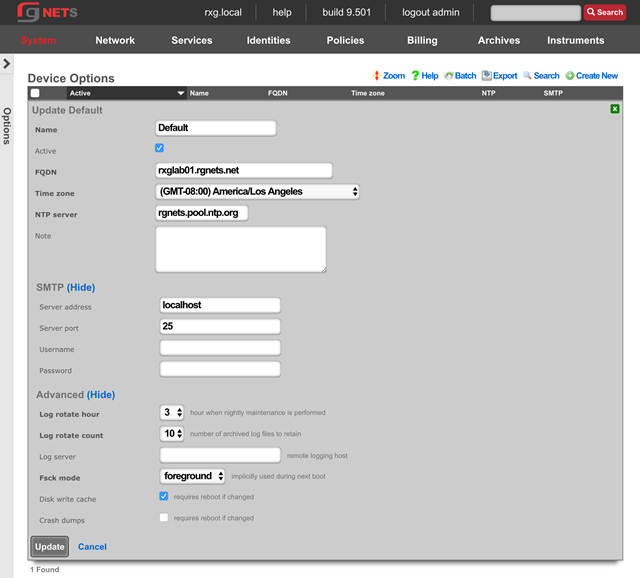
Enter the FQDN and Timezone
Edit the Default System Options and enter the rXgs fully qualified domain name ( FQDN ). Leave all other defaults. Click Update when done.
System :: Certificates
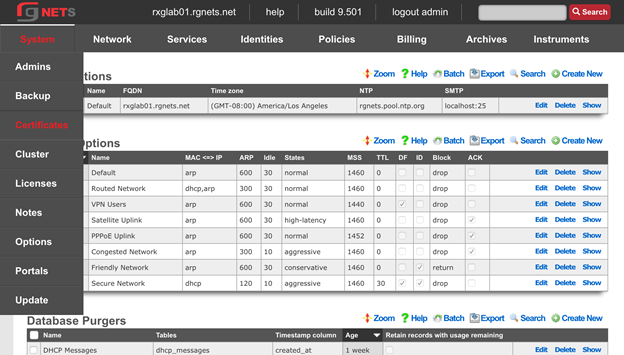
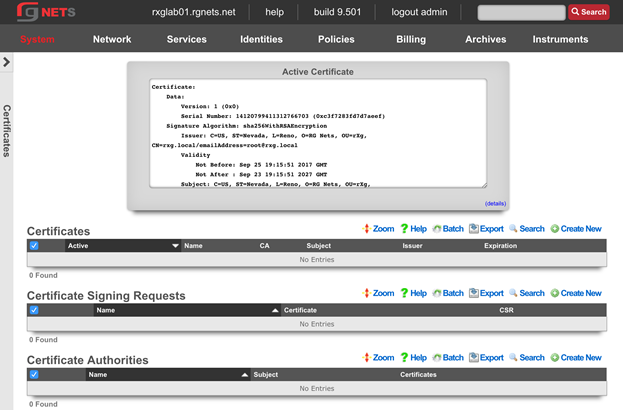
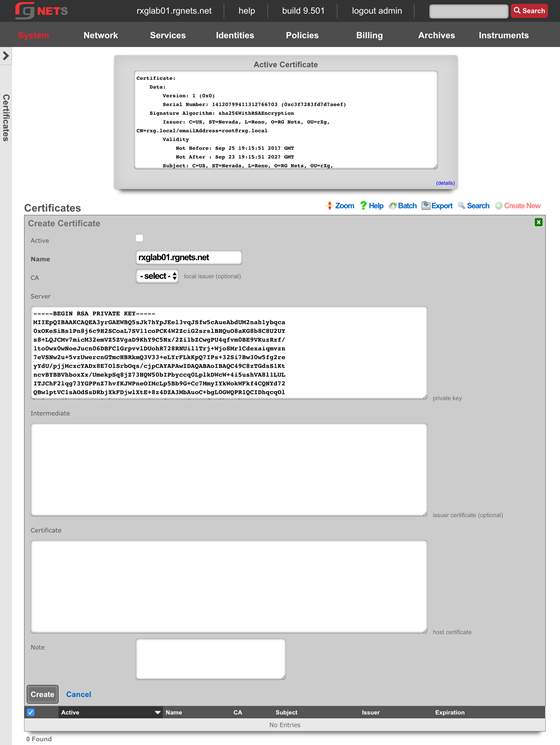
Create a new Certificate
Click Create New in the Certificates scaffold. The name will be filled in automatically from the system options. The rXg has generated a private key for the certificate already, and nothing else needs to be added yet. The private key will be utilized when the rXg generates a Certificate Signing Request in the next step.
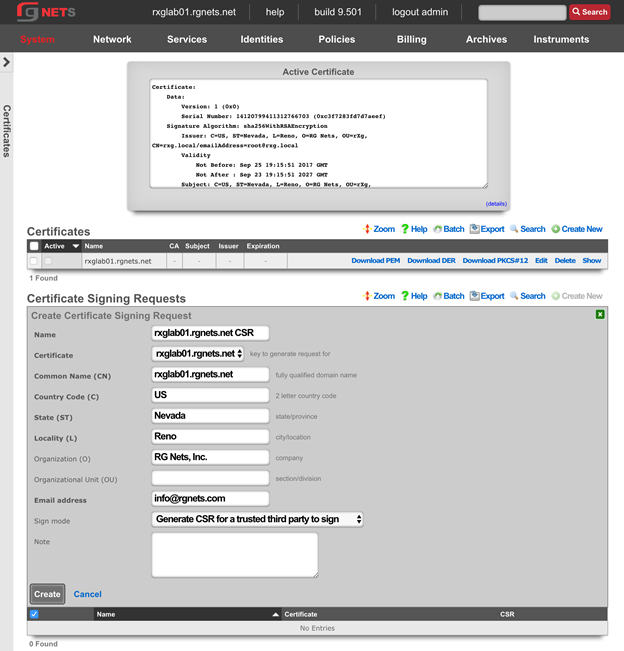
Create a new Certificate Signing Request
Click Create New in the Certificate Signing Requests scaffold.
Complete the form with information to identify yourself to your 3rd party signing authority.
The Common Name (CN) must match the FQDN that will be used to access this rXg. If you will be purchasing a wildcard certificate from your certificate vendor, the CN should be *.domain.com
The email address will be tied to the certificate, so do not use your personal email address.
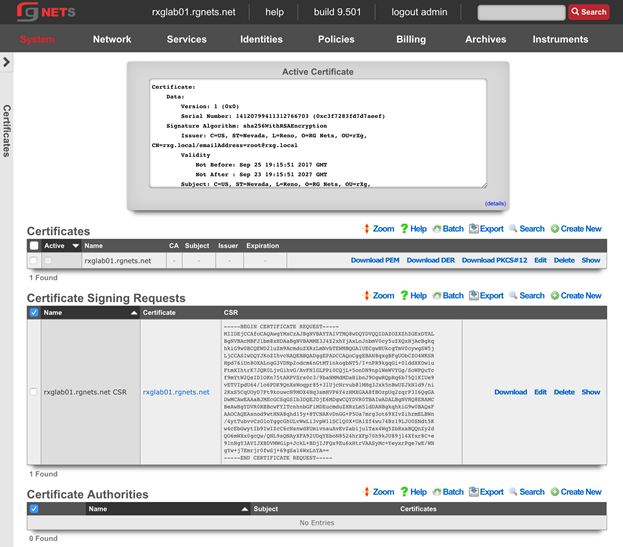
Copy the CSR
Copy the entire textblock of the CSR column of the newly created record, including -----BEGIN CERTIFICATE REQUEST----- and -----END CERTIFICATE REQUEST-----
The CSR will be provided to your certificate vendor, which they will use to generate the intermediate and server certificates used in the next steps.
Submit CSR to 3rd party Certificate Authority
Submit the CSR obtained above and provide it to the certificate authority for them to generate and sign your certificate. When downloading the certificates, you should request apache format.
Once you have the intermediate certificates and the server certificates from your CA, proceed with the next step.
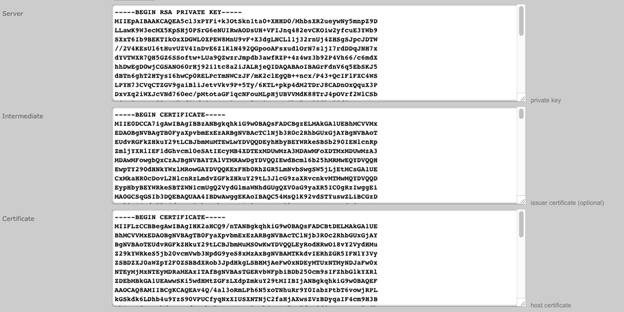
Update the Certificate Chain
Open the downloaded intermediate and server certificates in a text editor. For the purposes of this lab, intermediate and server certificates will be provided to you by the instructor. 
Click Edit on the Certificate we created previously and supply the entire text of the intermediate and server certificates. Ensure that the Active checkbox is enabled. Click Update when complete. The webserver will restart while the new certificate is activated.